
Vegan DIY hand cream: a simple homemade recipe that actually works
If your hands have that permanently dry, papery feel no matter how much moisturiser you slather on, you’re not imagining it.
Hands take a beating: constant washing, sanitiser, hot water, weather, dishes.
Most shop-bought hand creams either sit on top of the skin doing very little, or they’re packed with silicones and mineral oil that feel nice for five minutes and then disappear.
This DIY skincare recipe is different. It’s a proper emulsion, meaning it’s a genuine cream (not a balm or a whipped butter) that combines water and oil in a stable way, so it absorbs properly instead of leaving a greasy film.
It’s also entirely vegan, using plant-derived emulsifying wax rather than beeswax or lanolin.
Homemade skincare recipes like this one give you far more control than anything on a shelf. You choose the actives, you know exactly what’s gone into the pot, and you can adjust it for your own hands over time. Let’s go through it properly.
I’m Patri Hernández, a certified organic skincare formulator and dermocosmetic technician with a background in health coaching, specialising in natural skincare, botanical ingredients, and practical, evidence-informed formulation.
This post contains affiliate links, which means I may earn a small commission if you purchase through one at no extra cost to you. I only recommend ingredients I genuinely think are worth using.
What makes this hand cream different from a basic DIY moisturiser
A lot of DIY skincare recipes floating around online are really just melted oils and butters poured into a jar. Nothing wrong with that as a balm, but it’s not a cream, and it behaves very differently on skin.
This recipe is a true oil-in-water emulsion. That means:
- It contains both a water phase and an oil phase, properly combined
- It absorbs into the skin rather than sitting on top
- It has a lighter, more “cream-like” finish than a pure butter
- It needs an emulsifier and a preservative to stay stable and safe
That last point matters more than people realise, so I’ll come back to it.
Ingredients and what each one is actually doing
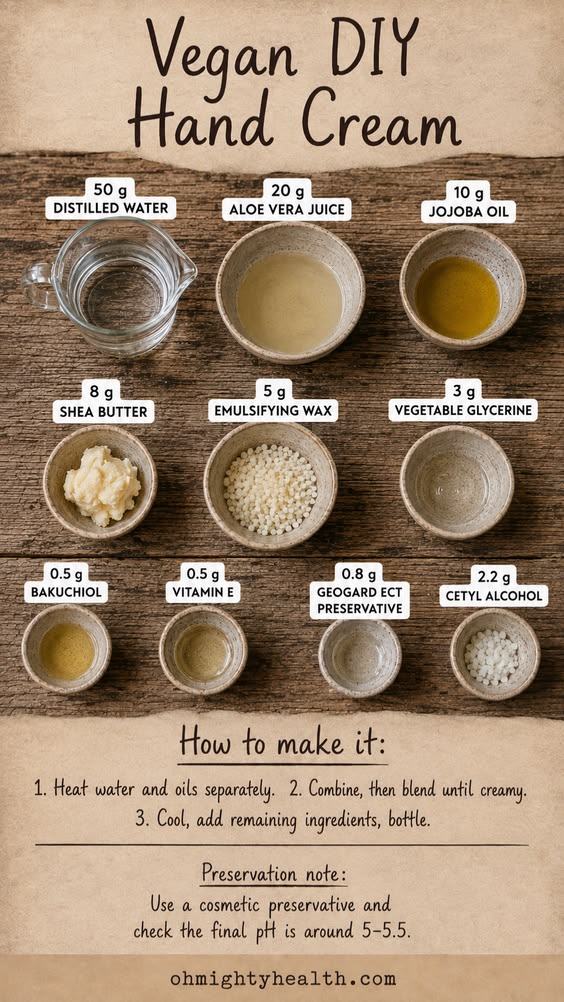
Distilled water (50 g)
This forms the base of your water phase. Always use distilled or cooled boiled water rather than tap water for any homemade skincare recipes. Tap water carries minerals and microorganisms that can destabilise the emulsion and shorten shelf life considerably.
Aloe vera juice (20 g)
Aloe brings a light, soothing quality to the water phase. It’s mostly water itself, so it blends in seamlessly, and it has a long history of traditional use for calming irritated or dry skin. Use a pure aloe vera juice or liquid, not the thick gel, which can behave differently in an emulsion.
Jojoba oil (10 g)
Jojoba oil is technically a liquid wax ester, which is part of why it’s such a good match for skin: its structure is remarkably close to human sebum. That means it tends to sit comfortably on the skin without feeling heavy, and it’s a stable oil that resists rancidity better than many other carrier oils.
Shea butter (8 g)
Shea butter is the workhorse here for richness. It’s rich in fatty acids and has a naturally occlusive quality, meaning it helps form a barrier that slows moisture loss from the skin. This is particularly useful for hands, which lose hydration fast.
Emulsifying wax (5 g)
This is the ingredient that makes the whole thing a cream rather than a floating mess of oil and water. Emulsifying wax (often a blend based on cetearyl alcohol and polysorbate, or similar plant-derived emulsifiers, depending on the brand) binds the water and oil phases together into a stable, uniform texture.
Not all emulsifying waxes behave the same. If you swap brands, check the manufacturer’s usage rate and instructions, because ratios can vary.
Vegetable glycerin (3 g)
Glycerin is a humectant, which means it draws water into the outer layer of skin. It’s one of the most well-studied and reliable moisture-binding ingredients in skincare formulation, plant-derived, inexpensive, and genuinely effective in small amounts.
Bakuchiol (0.5 g)
Bakuchiol is a plant-derived compound often positioned as a gentler alternative to retinol. Some research suggests it may support skin texture and a more even tone, though the evidence base is still smaller than that for retinoids, and results shouldn’t be expected to match prescription-strength retinol. It’s a nice inclusion at a low percentage, but it’s a bonus ingredient here, not the main event.
Vitamin E (0.5 g)
Vitamin E is doing double duty. It has antioxidant properties for the skin, but in a formulation like this, it’s also functioning as a mild support to help slow oxidation of the oils themselves, which helps the finished cream stay fresher for longer.
Geogard ECT preservative (0.8 g)
I want to flag this one clearly: this is not an optional ingredient. Any product containing water, however small the percentage, is vulnerable to bacterial, mould, and yeast growth. Geogard ECT is a broad-spectrum, naturally derived preservative system commonly used in clean and natural formulations. Skipping it, or trying to substitute something like vitamin E or grapefruit seed extract in its place, will not adequately protect the cream and could lead to contamination that isn’t visible to the naked eye.
Cetyl alcohol (2.2 g)
Despite the name, cetyl alcohol is a fatty alcohol, not a drying alcohol like isopropyl or ethanol. It acts as a thickener and stabiliser, giving the cream body and a smoother, more luxurious glide. It also helps make the emulsion feel less greasy on application.
What you’ll need beyond the ingredients
- Digital kitchen scale (measuring by weight, not volume, is essential for a stable emulsion)
- Two heat-safe glass beakers or jugs, one for the water phase and one for the oil phase
- A small saucepan or double boiler, or a microwave used carefully in short bursts
- A stick blender or a small whisk
- A thermometer (genuinely useful here, not optional if you want consistent results)
- A clean, sanitised jar or pump bottle for storage
- Isopropyl alcohol for sanitising your equipment beforehand
Sanitising your tools and containers before you start isn’t fussy overkill. Any bacteria introduced at this stage can multiply in the finished cream, even with a preservative doing its job.
How to make it: step-by-step
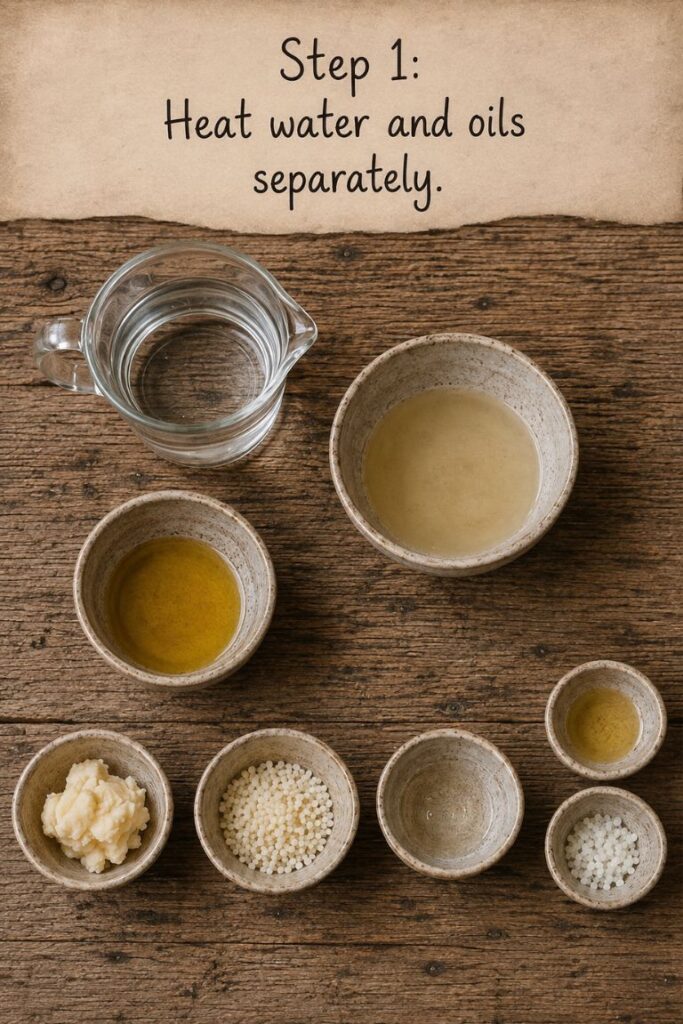
- Weigh your water phase. Combine the distilled water, aloe vera juice, and vegetable glycerin in one heat-safe container.
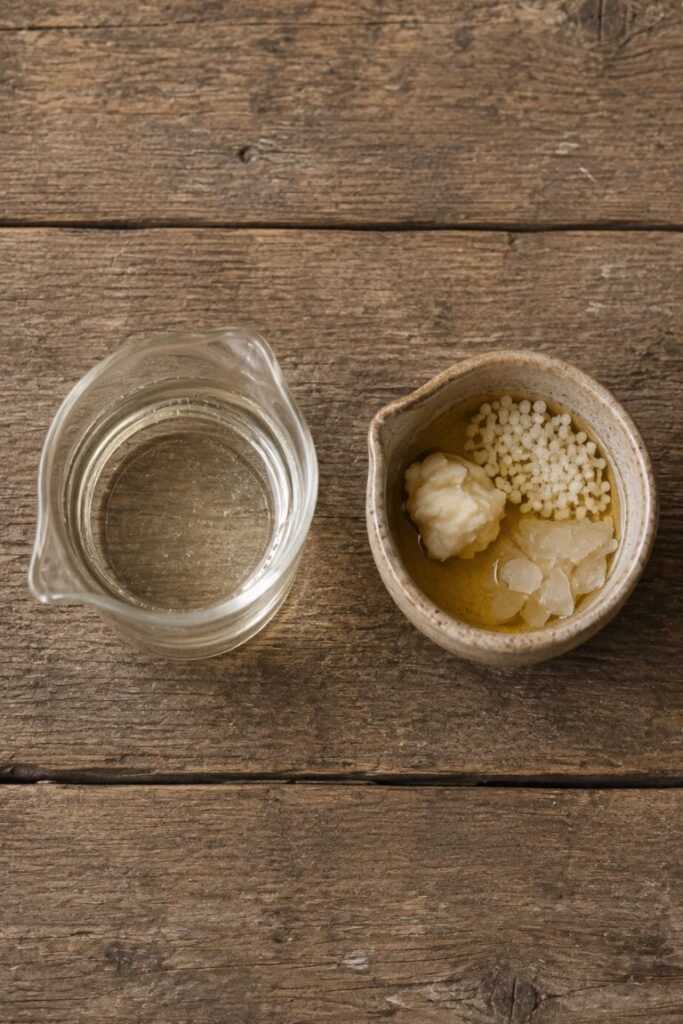
- Weigh your oil phase. Combine the jojoba oil, shea butter, emulsifying wax, and cetyl alcohol in a separate heat-safe container.
- Heat both phases separately to around 70–75°C, either using a double boiler or careful short bursts in the microwave. Both phases need to reach a similar temperature before combining, ideally within a couple of degrees of each other.
- Combine the phases. Once both are at temperature, slowly pour the oil phase into the water phase (not the other way round).
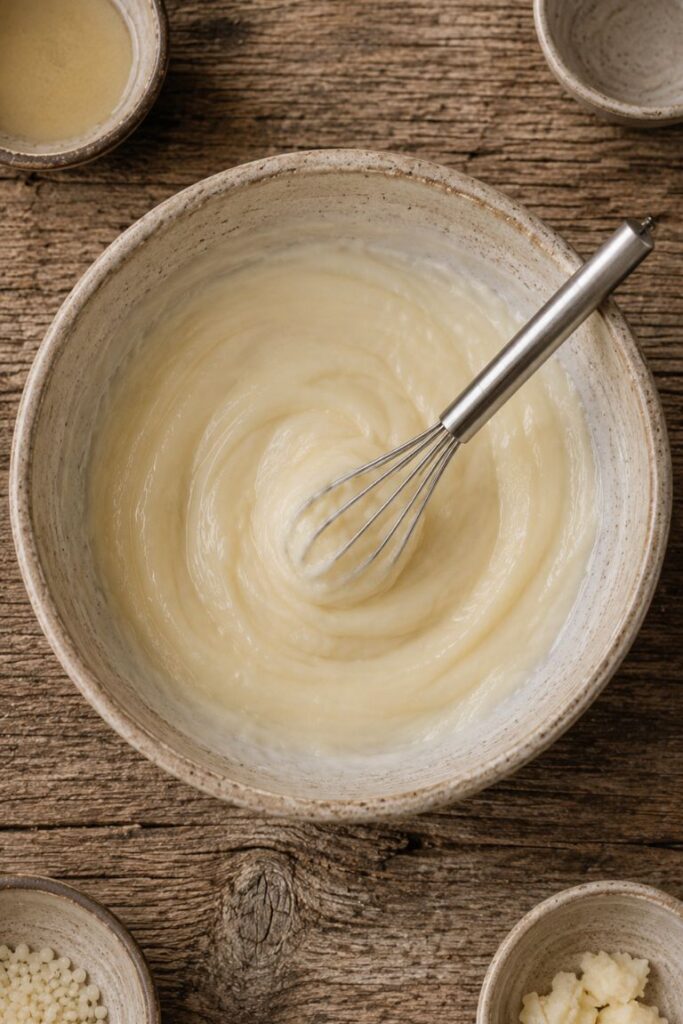
- Blend until creamy. Use a stick blender in short pulses, or whisk continuously, until the mixture emulsifies into a smooth, uniform cream. This can take a few minutes, so don’t panic if it looks thin or separated at first.
- Cool the mixture. Let it cool while continuing to stir occasionally, down to around 40°C or below. This prevents the heat-sensitive ingredients from being damaged.
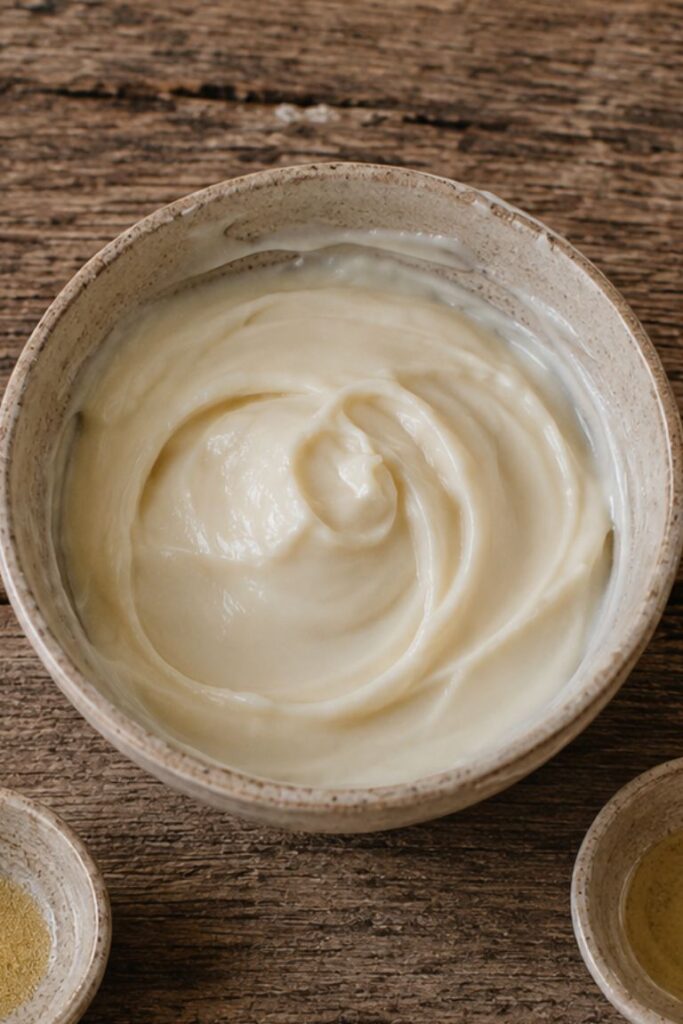
- Add the remaining ingredients. Once cooled, stir in the bakuchiol, vitamin E, and Geogard ECT preservative.
- Check the pH. Using pH strips or a calibrated pH meter, check that the final cream sits around 5 to 5.5, which matches the skin’s natural acid mantle and ensures the preservative system is working within its effective range.
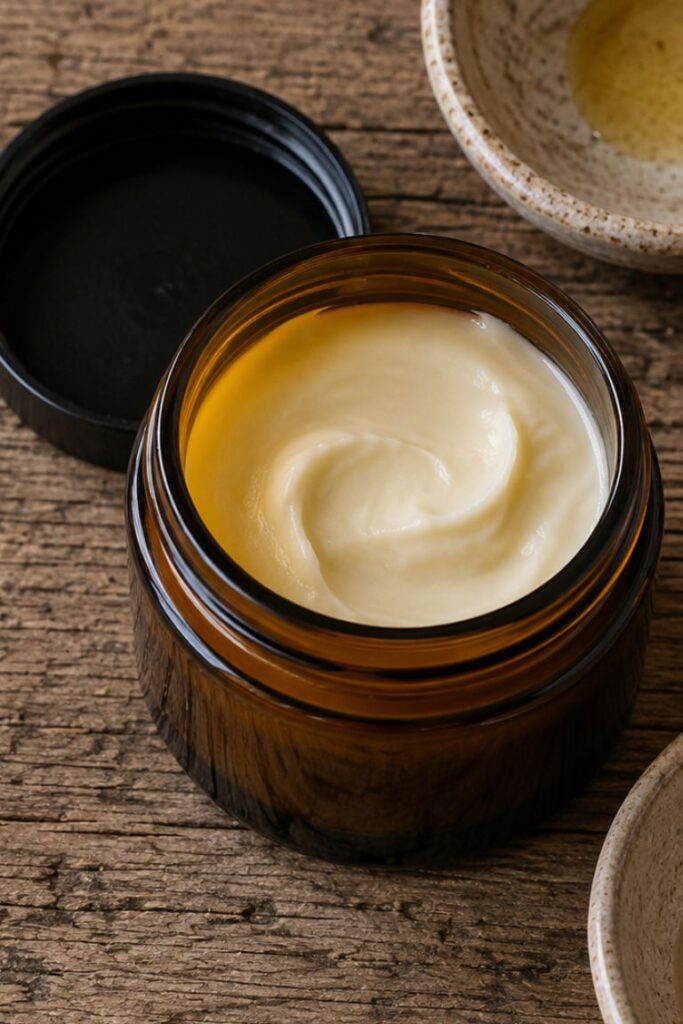
- Bottle it. Transfer into your sanitised jar or pump bottle or glass jar and label with the date you made it.
Why the pH check actually matters
This is a step a lot of DIY skincare recipes skip entirely, and it’s a mistake. Most preservative systems, including Geogard ECT, only work effectively within a specific pH range, generally slightly acidic. If your finished cream sits outside that range, the preservative may not do its job properly, even though every ingredient looks correct on paper.
A cream with the wrong pH isn’t just less effective, it may not be adequately preserved, which is a safety issue, not just a quality one.
If your pH reads too high, a tiny amount of citric acid can bring it down. If it’s too low, a pinch of sodium bicarbonate can raise it slightly. Adjust gradually and retest.
Expert tips for a better result
- Weigh everything precisely. Emulsions are chemistry, not cooking, and small deviations in ratios can affect stability.
- Add the oil phase to the water phase, not the reverse, for a more stable emulsion.
- Don’t rush the cooling step. Adding heat-sensitive ingredients too early can degrade them.
- If your cream separates after a few days, it’s likely a sign the emulsifier ratio needs adjusting or the phases weren’t blended thoroughly enough.
- Do a patch test on your inner forearm before applying any new formulation across both hands, particularly if you have sensitive or reactive skin.
Common mistakes to avoid
- Skipping the preservative. Even “natural” alternatives like vitamin E or essential oils are not adequate broad-spectrum preservatives on their own.
- Using tap water. It introduces minerals and microbes that shorten shelf life.
- Not checking pH. This undermines the preservative’s effectiveness even if everything else is correct.
- Substituting the emulsifying wax for a different type without adjusting ratios. Different emulsifiers require different usage percentages.
- Storing in a bathroom near a hot, humid shower. Heat and humidity accelerate degradation.
Storage and shelf life
Store your hand cream in a cool, dry place, away from direct sunlight and heat. A properly emulsified and preserved cream like this one should keep for around two to three months at room temperature, though this can vary depending on how carefully it was made and stored.
Always use clean, dry hands (or better, a small spatula) to remove product from the jar, rather than dipping fingers in directly, which introduces bacteria over time.
If you notice any change in smell, colour, texture, or separation that doesn’t re-blend with a stir, it’s time to discard the batch and make a fresh one.
Who should be cautious with this recipe
- If you’re pregnant or breastfeeding, check with your midwife or doctor before introducing new active ingredients like bakuchiol, as data on topical use during pregnancy is still limited.
- If you have a known allergy to any ingredient here, particularly shea (a tree nut-derived butter, relevant for tree nut allergies) or any essential oils you might add for fragrance, patch test first or omit it.
- If you’re using prescription retinoids elsewhere in your routine, introduce bakuchiol gradually rather than layering actives without thought.
Frequently asked questions
Can I make this without emulsifying wax?
Not as a true cream. Without an emulsifier, the water and oil phases will separate. You could make a balm instead using just the butters and oils, but it will behave very differently on the skin and won’t have the same lightweight, absorbing finish.
Is Geogard ECT the only preservative option?
No, there are other broad-spectrum cosmetic preservatives suitable for natural formulations. If you want to substitute, research the recommended usage rate and effective pH range for whichever one you choose, and don’t assume they’re interchangeable at the same percentage.
Why does my cream feel grainy?
This usually points to the phases not being blended thoroughly enough, or the temperatures not matching closely enough when combined. A stick blender tends to give a smoother result than hand whisking.
Can I add essential oils for fragrance?
Yes, in small, well-diluted amounts, added at the cooling stage alongside the other cooling-stage ingredients. Be mindful of photosensitising oils like citrus, which can increase sun sensitivity on skin that will be exposed to daylight.
How do I know if my preservative percentage is correct?
Always follow the supplier’s recommended usage rate for the specific preservative you’re using, as this varies by product and manufacturer.
Making your own hand cream isn’t just a satisfying weekend project, it’s a genuinely practical way to get a proper, well-formulated product without the mystery ingredient lists. Just treat the preservative and pH steps with the same seriousness as the rest of the recipe, because that’s what turns a lovely-smelling bowl of oils and water into a cream you can actually trust on your skin for weeks to come. If you’re building out a wider natural routine, it’s worth looking at your broader skincare hydration habits too, since dry hands are often part of a bigger seasonal dryness picture.
Love, Patri xx
