Smooth & Silky: A DIY Body Butter Recipe for Luxuriously Soft Skin
Learn how to make a luxurious DIY body butter with all-natural ingredients for soft, smooth, and healthy-looking skin.
As someone who loves trying out new beauty products, I’m always on the lookout for ways to make my own natural skincare at home. One of my favourite DIY projects is creating my own body butter – it’s simple, affordable, and leaves my skin feeling incredibly soft and nourished.
DIY Body Butter and Its Benefits
If you’re looking for a natural and affordable way to hydrate and nourish your skin, look no further than DIY body butter. This rich, luxurious moisturizer is simple to make at home and is packed with benefits for your skin.
Unlike store-bought lotions that can contain harsh chemicals and artificial fragrances, DIY body butter is made with natural ingredients that are gentle on the skin. Shea butter, coconut oil, and sweet almond oil are just a few of the nourishing ingredients that can be used to create a homemade body butter that’s tailored to your skin’s unique needs.
When you apply DIY body butter to your skin, you’ll notice a difference right away. It has a richer, thicker texture than traditional lotion, which means it’s able to deeply hydrate and nourish even the driest skin. Body butter is also great for improving the appearance of stretch marks, scars, and other imperfections, thanks to its ability to deeply moisturize and improve skin elasticity.
Not only is DIY body butter great for your skin, but it’s also a fun and easy DIY project that you can do at home. With just a few simple ingredients and a little bit of time, you can create a luxurious moisturizer that will leave your skin feeling soft, smooth, and nourished. In this post, we’ll share our favorite DIY body butter recipe and tips for making the process as easy and stress-free as possible. So, let’s get started!
Whipped Body Butter Recipe
Here’s a brief overview of the body butter recipe, below I’ll go into more detail regarding ingredients and their benefits:
- 1/2 cup of shea butter
- 1/4 cup of coconut oil
- 1/4 cup of sweet almond oil
- Optional: essential oil for fragrance (such as lavender, peppermint, or citrus)
These ingredients can be adjusted based on personal preferences and skin needs.
Perfect Whipped Body Butter Recipe with these Ingredients
The ingredients used in the DIY body butter recipe were chosen because they are some of the best oils for creating a smooth, silky, and luxuriously soft skin. Here’s why:
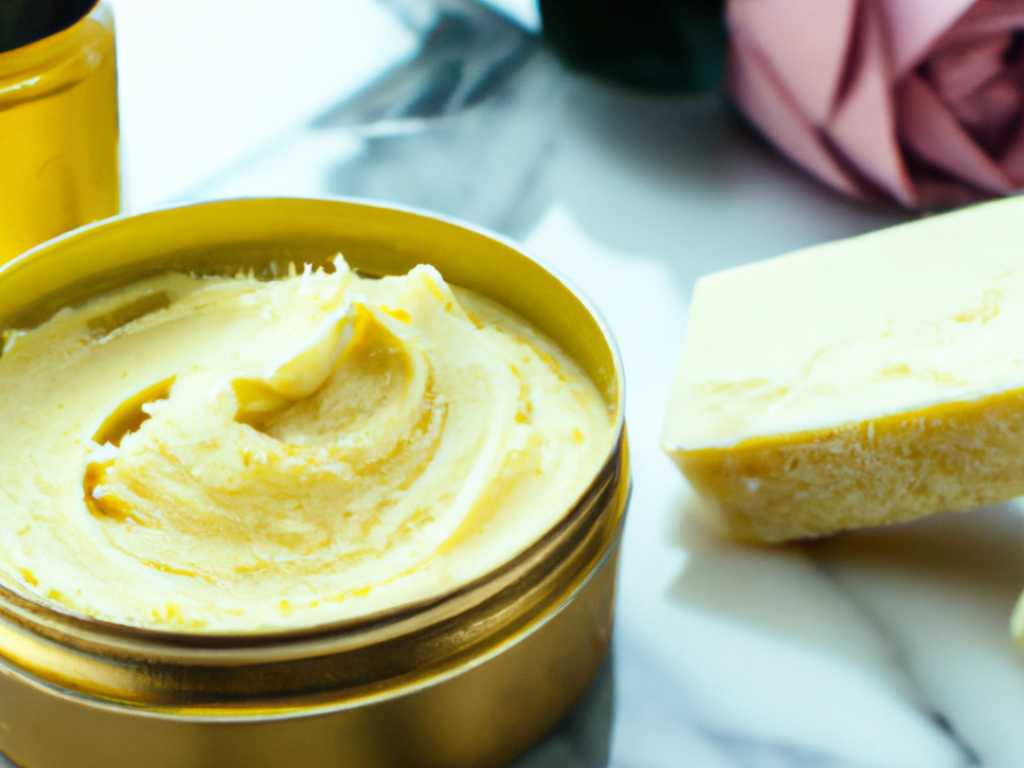
- Shea butter: Shea butter is a popular ingredient in body butters because it’s incredibly moisturizing and nourishing for the skin. It’s rich in fatty acids and vitamins, which help to soothe and protect the skin, leaving it feeling soft and supple.
- Coconut oil: Coconut oil is another key ingredient in body butter thanks to its ability to deeply penetrate the skin and provide long-lasting hydration. It’s also rich in antioxidants and fatty acids that help to protect and nourish the skin.
- Sweet almond oil: Sweet almond oil is a lightweight, non-greasy oil that’s perfect for creating a smooth and silky texture in body butter. It’s also rich in vitamins and minerals that help to soothe and nourish the skin.
Together, these three ingredients work together to create a rich and nourishing body butter that’s perfect for keeping your skin soft, smooth, and hydrated. Additionally, the recipe is customizable, so you can adjust the ratio of oils to suit your personal preferences and skin type. For example, you might prefer using jojoba oil which is very popular in DIY recipes. Adding essential oils for fragrance is another way to personalize your body butter, and can further enhance the benefits for your skin.
Why not use cocoa butter or mango butter?
While cocoa butter is a popular ingredient in many body butter recipes, it was not used in this particular recipe due to personal preference – I find it too greasy and hard, and not as comfortable to work with. I’ve used mango butter (it is less greasy) in the past but it absorbs a little too fast for my liking. To make body butter I think Shea butter has the perfect ration of oiliness and absorption rate (not too fast like mango, not too slow like cocoa). To make whipped body butter any of the 3 will do a great job (they all whip really well). Ultimately, the choice of ingredients in a DIY body butter recipe is up to the individual and can be adjusted based on their specific needs and preferences.
Are the ingredients suitable for sensitive skin?
This recipe uses all-natural ingredients that are generally safe and gentle for most skin types. However, it is possible for some individuals to be sensitive or allergic to certain ingredients, even natural ones. If you have sensitive skin or are prone to allergies, it’s always a good idea to do a patch test before applying any new skincare product all over your body. Simply apply a small amount of the body butter to a small patch of skin and wait 24-48 hours to see if there is any reaction. If you experience any redness, itching, or irritation, discontinue use of the product. As with any skincare product, it’s important to listen to your skin and adjust your routine as needed.
Step-by-step Instructions on How to Make the Homemade Body Butter
Ingredients
- 1/2 cup shea butter
- 1/4 cup coconut oil
- 1/4 cup sweet almond oil
- 10-15 drops of your favorite essential oil (optional)
Equipment
- Double boiler or heat-safe bowl and pot
- Hand mixer or stand mixer
- Airtight container for storage
Instructions
- Begin by melting the shea butter and coconut oil in a double boiler or in a heat-safe bowl over a pot of boiling water. If you don’t have a double boiler, you can make one by placing a heat-safe bowl on top of a pot filled with a few inches of water.
- Once the shea butter and coconut oil are melted, remove from heat and stir in the sweet almond oil.
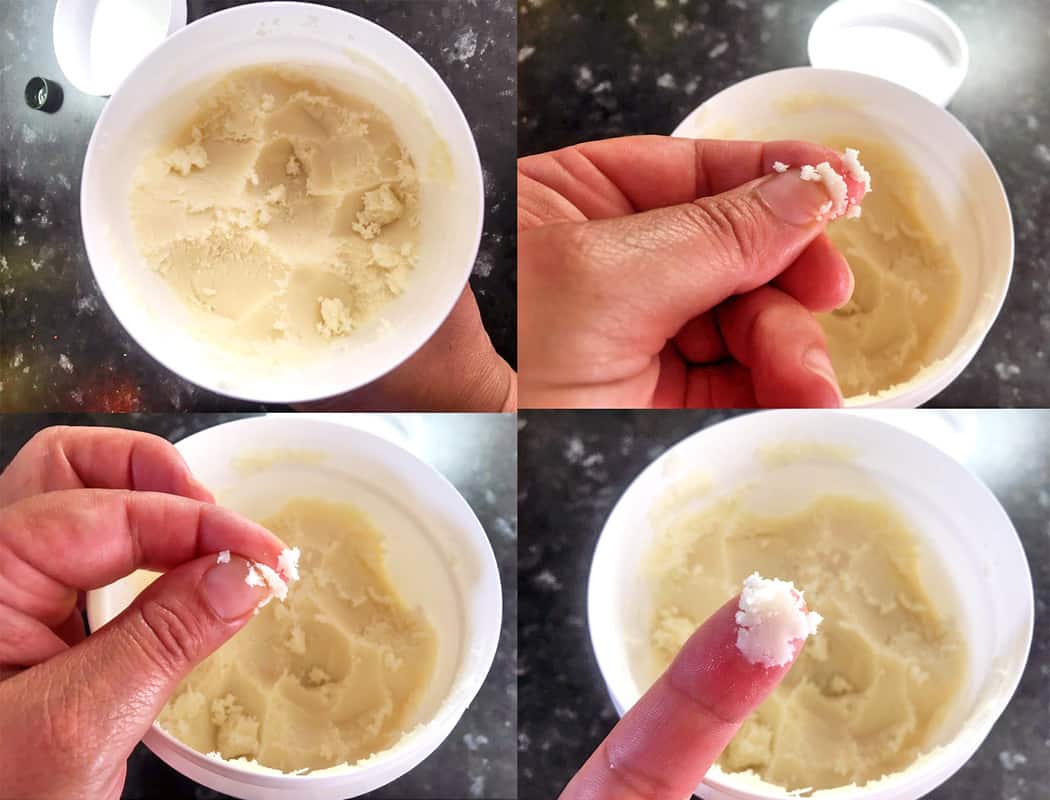
- Let the mixture cool for about 15-20 minutes, or until it starts to thicken and become opaque. You can speed up this process by placing the mixture in the fridge for a few minutes.
- Once the mixture has cooled and thickened, add the essential oil (if using) and mix well.
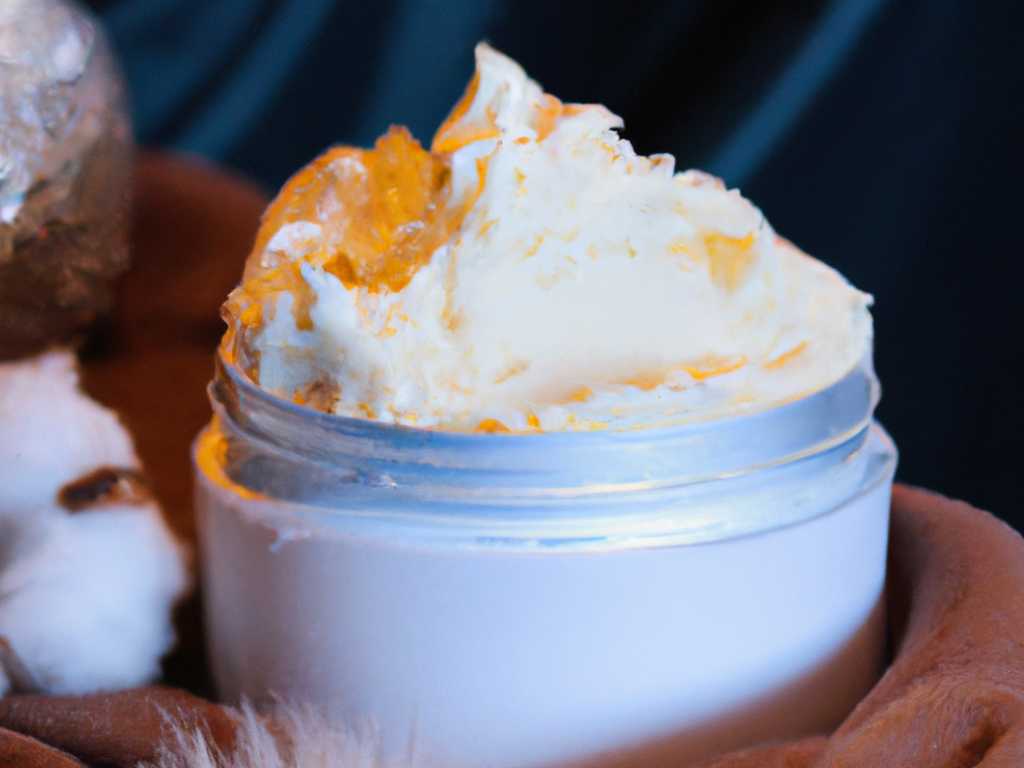
- Using a hand mixer or stand mixer, whip the mixture until it becomes light and fluffy. This will take a few minutes, so be patient! The mixture will become lighter in color and increase in volume as you whip.
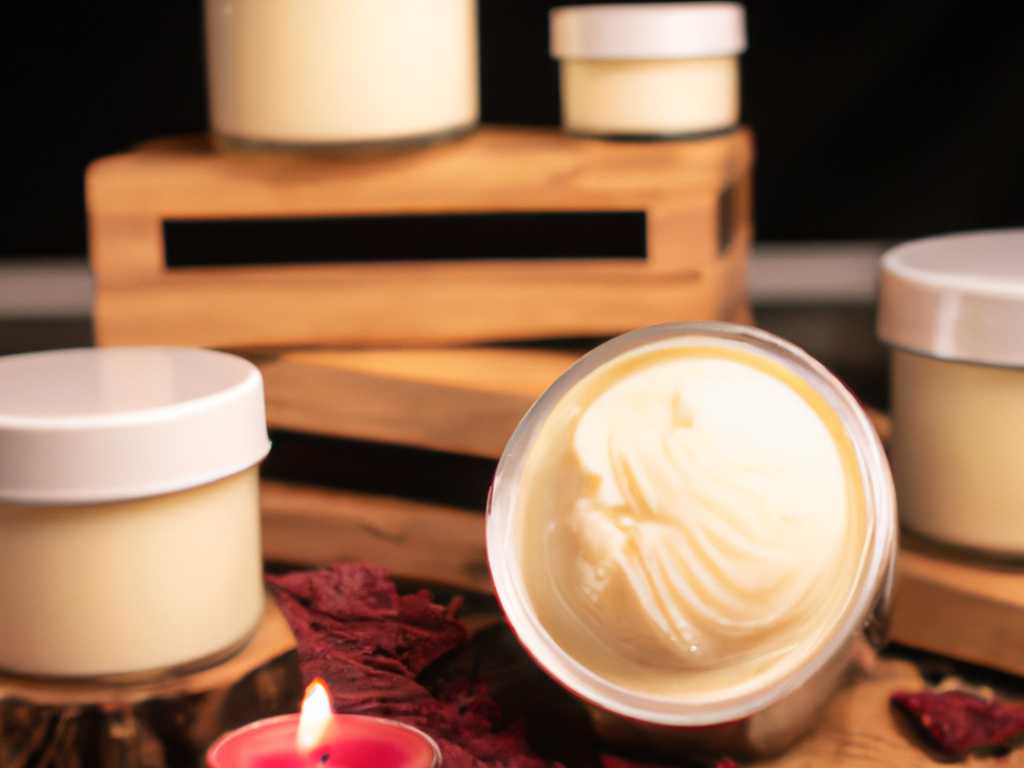
- Once the mixture is whipped to your desired consistency, transfer it to an airtight container for storage.
- Your DIY body butter is now ready to use! Simply apply a small amount to your skin and massage in until fully absorbed.
Homemade Whipped Body Butter Tips
- Make sure to use a high-quality shea butter and coconut oil for the best results.
- If you don’t have a hand mixer or stand mixer, you can still make this recipe by using a whisk and a lot of elbow grease!
- Experiment with different essential oils to find your favorite scent.
- This recipe makes approximately 8 ounces of body butter, but you can easily double or halve the recipe depending on your needs.
- Store your body butter in a cool, dry place to prevent melting. If it does melt, simply place it in the fridge to solidify again.
A Quick Guide to the Essential Oils You can Add to Your DIY Whipped Body Butter (Optional!)
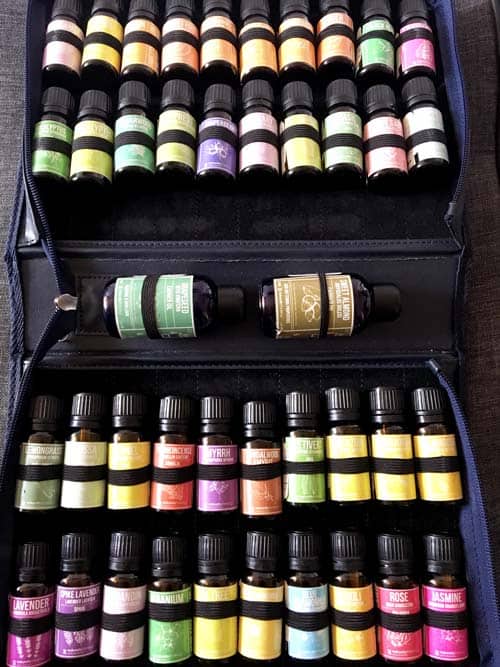
- Lavender oil: Lavender oil is a popular choice for body butter because of its calming and soothing properties. It can also help to improve the appearance of scars and blemishes. Add 10-15 drops to your body butter recipe.
- Peppermint oil: Peppermint oil is refreshing and cooling, making it a great choice for a post-workout body butter. It can also help to relieve sore muscles and improve circulation. Add 5-10 drops to your body butter recipe.
- Eucalyptus oil: Eucalyptus oil is known for its anti-inflammatory properties and can help to soothe muscle pain and respiratory issues. Add 5-10 drops to your body butter recipe.
- Tea tree oil: Tea tree oil has antibacterial and antifungal properties and can help to treat acne and other skin conditions. Add 5-10 drops to your body butter recipe.
- Citrus oils (orange, lemon, grapefruit): Citrus oils are refreshing and uplifting, making them a great choice for a morning body butter. They also have antioxidant properties and can help to improve the appearance of skin. Add 10-15 drops to your body butter recipe.
Essential Oils & Safety
- Always dilute essential oils in a carrier oil before applying to the skin. In this recipe, the essential oil is diluted in the body butter mixture.
- Always use high-quality, pure essential oils.
- Patch test the essential oil on a small area of skin before using it in your body butter to make sure you don’t have an allergic reaction.
- Some essential oils can be photosensitive, meaning they can cause skin sensitivity when exposed to sunlight. Avoid using these oils in your body butter if you plan to spend time in the sun.
- Some essential oils are not safe for use during pregnancy or for individuals with certain medical conditions. Consult a healthcare provider before using essential oils if you have any concerns.
Learn to Use the Body Butter Effectively
- Start with clean, dry skin. You can use the body butter on any part of your body, but it’s especially effective on areas that tend to be dry, such as your elbows, knees, and feet.
- Take a small amount of body butter and warm it up in your hands by rubbing them together.
- Apply the body butter to your skin using gentle, circular motions. Start with a small amount and add more as needed.
- Allow the body butter to fully absorb into your skin before getting dressed. This may take a few minutes, so be patient!
Suggestions on When and Where to Apply the Body Butter
- After a shower or bath: Apply the body butter to damp skin after a shower or bath to lock in moisture and keep your skin hydrated throughout the day.
- Before bed: Apply the body butter to your hands, feet, and other dry areas before bed to wake up with soft, smooth skin.
- During the winter months: Winter weather can be harsh on your skin, so applying body butter regularly can help to prevent dryness and chapping.
- After spending time in the sun: Sun exposure can dry out your skin, so applying body butter after spending time in the sun can help to keep your skin hydrated and prevent peeling.
- During pregnancy: Pregnancy can cause dry, itchy skin, especially around the belly. Applying body butter regularly can help to soothe and hydrate your skin.
Overall, the key to using body butter effectively is to be consistent. Apply it regularly to keep your skin soft, smooth, and hydrated.
Conclusion
A DIY body butter is a wonderful and simple way to nourish your skin with natural ingredients. By making your own body butter, you can avoid the harmful chemicals and additives found in many store-bought skincare products, and customize the recipe to suit your individual needs and preferences.
Recap of the benefits of using DIY body butter:
- It’s all-natural and free of harmful chemicals
- It’s highly moisturizing and nourishing for your skin
- It’s customizable with different oils and essential oils
- It’s cost-effective compared to store-bought options
If you haven’t tried making your own body butter at home yet, I encourage you to give it a try! Not only is it a fun and rewarding DIY project, but it can also be a great way to show your skin some love and enjoy the many benefits of natural, homemade skincare.
If you love this recipe share it with others!
With just a few simple ingredients and some basic equipment, you can create a luxurious body butter that will leave your skin feeling soft, smooth, and nourished. So why not give it a try and see the difference it can make for your skin? Please share with others if you love this recipe!
Helpful Resources
Shea Butter As Skin, Scalp and Hair Moisturiser in Nigerians
Anti-Inflammatory and Skin Barrier Repair Effects of Topical Application of Some Plant Oils
Medicinal and Nutritional Benefits from the Shea Tree (Vitellaria Paradoxa)