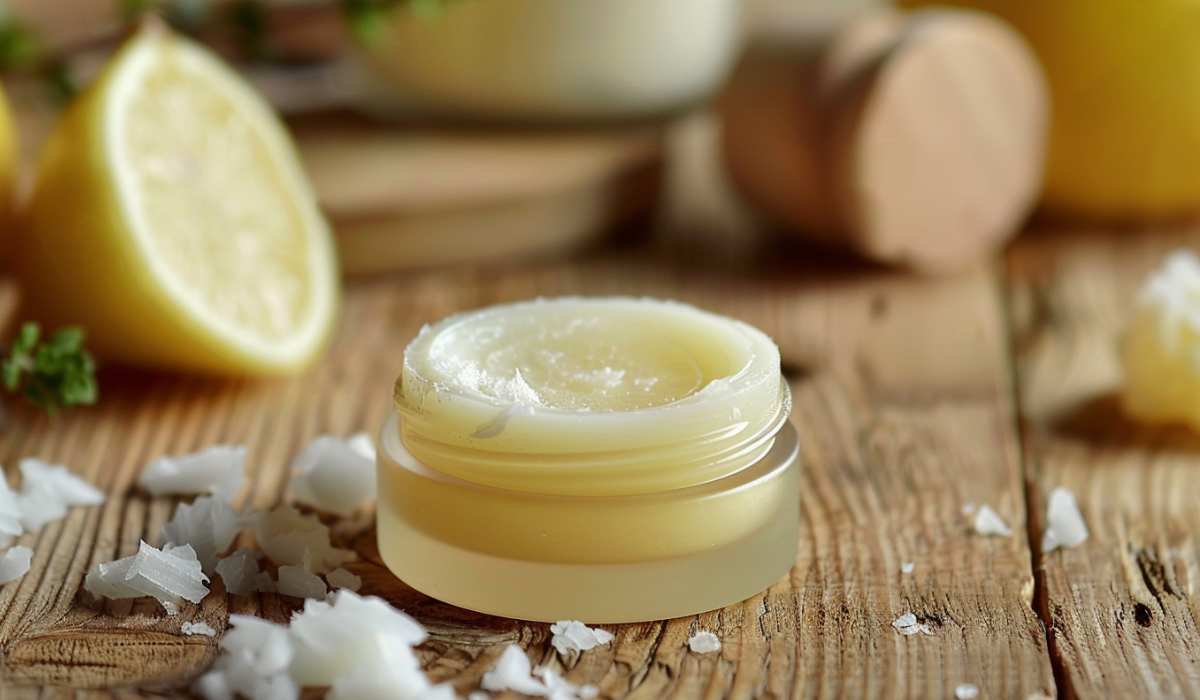
Can You Really Make BETTER Lip Balm at Home?
As someone who’s passionate about organic skincare and natural ingredients, I’ve always been drawn to the idea of making my own lip balm.
There’s just something so appealing about knowing exactly what goes into the products I use on my skin, and being able to customise them to my liking.
Plus, let’s be real—it feels pretty impressive to whip up a batch of lip balm from scratch!
Is a homemade lip balm REALLY better than store-bought?
But here’s the question that’s been nagging at many interested in DIY beauty: is homemade lip balm actually better than what you can buy at the shops, even if it is a natural, clean beauty one?
AND, is it worth the time and effort to source ingredients and tinker with recipes, or am I better off sticking with my trusty store-bought favourites?
Advantages of a homemade lip balm
1. Control over ingredients
When you make your own lip balm, you have complete control over what goes into it. No more scrutinising ingredient lists or googling unpronounceable chemicals. Commercial lip balms usually have petroleum-derived ingredients like mineral oil or petrolatum. Instead, you can choose high-quality, natural, and organic ingredients that you feel good about putting on your lips!!
Here are the ingredients commercial lip balms might have which I AVOID AT ALL COSTS for various reasons: parabens, petrolatum (petroleum jelly), fragrances, flavours, chemical sunscreens (oxybenzone, octinoxate), artificial colours, propylene glycol, BHA, BHT (butylated hydroxyanisole, butylated hydroxytoluene), lanolin (I’m vegan), and retinyl palmitate (vitamin A palmitate).
2. Easy to customise/personalise
DIY lip balm allows you to tailor the recipe to your specific needs and preferences. Want a vegan formula? No problem. Prefer a certain scent or flavour? Go for it. You can even adjust the texture and consistency by tweaking the ratios of ingredients.
3. Oh, yes, cost-effective!
While purchasing ingredients upfront might seem pricey, making your own lip balm can be cost-effective in the long run. You can make larger batches and have plenty to share with friends and family (hello, cute gift idea!).
Here’s a helpful table of homemade vs store-bought lip balms making it a NO-BRAINER.
| Aspect | Homemade Organic Lip Balm | Store-Bought Lip Balm |
|---|---|---|
| Ingredient Control | Full control over ingredients; avoid harmful substances | Ingredients vary; may contain undesirable chemicals |
| Customization | Tailor to personal preferences (scent, flavor, texture) | Limited to available products and formulations |
| Allergen Avoidance | Easier to avoid allergens or irritants | May contain common allergens or irritants |
| Quality | Use high-quality, organic ingredients | Quality varies; may use synthetic or lower-quality ingredients |
| Cost | Can be cost-effective, especially in bulk | Varies widely; some premium brands can be expensive |
| Sustainability | Can use sustainable, eco-friendly packaging | Packaging often includes plastic, contributing to waste |
| Health Concerns | Free from synthetic chemicals, fragrances, and preservatives | May include chemicals linked to health concerns |
| Freshness | Make in small batches for maximum freshness | May contain preservatives for longer shelf life |
| Fun and Educational | Enjoyable DIY project, learn about skincare ingredients | Convenient, no effort required |
| Availability | Ingredients may need to be sourced separately | Readily available in stores and online |
Potential drawbacks when making your own…
1. Yes, it takes (quite some) time and effort
While making your own lip balm can be a fun and rewarding experience, it’s important to acknowledge that it does require some time and effort. You’ll need to research recipes, source ingredients, and set aside time to actually make the balm. It is EASY, believe me, but you will have to spend some time in the learning process. Worth every second if you ask me.
2. Ingredients might not be that easy to find…
To make a truly superior lip balm, you’ll want to use high-quality, organic ingredients. However, finding these ingredients can sometimes be a challenge, especially if you don’t live near a well-stocked health food store. Amazon does have great ingredients, but you NEED TO KNOW what you’re looking for!
3. Shelf-life and storing
Homemade lip balms don’t contain the same preservatives as commercial products, which means they may have a shorter shelf life. You’ll need to be mindful of storage conditions (like keeping them away from direct sunlight and heat) to ensure your balm stays fresh and effective for as long as possible. And also that it doesn’t go rancid for as long as possible.
Ingredients and tools
Alright! You’re going for it I take it?
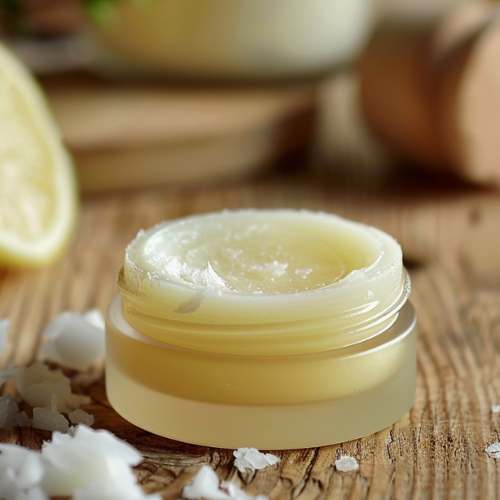
1. Oils and butters
First up, you’ll want to choose your carrier oils and butters. These will make up the base of your balm and help nourish and moisturise your lips. Some great options include:
- Coconut oil: A popular choice for its moisturising properties and tropical scent
- Shea butter: Deeply nourishing and great for dry, chapped lips
- Cocoa butter: Adds a delightful chocolate aroma and provides a protective barrier
- Sweet almond oil: Light, easily absorbed, and suitable for most skin types
2. Wax
To give your lip balm that perfect texture and help it stay put, you’ll need a wax. Beeswax is a classic choice, but being vegan I can’t recommend it. Opt for plant-based options like candelilla wax or carnauba wax instead.
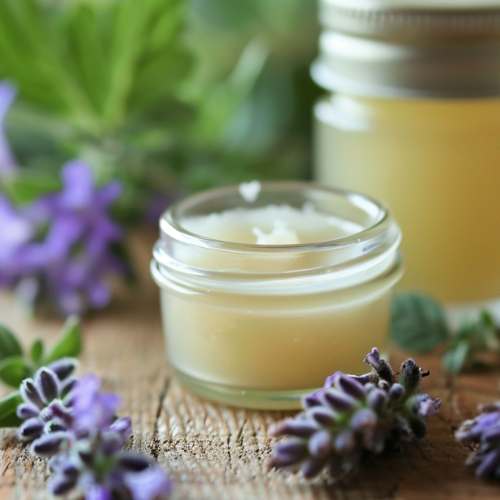
3. (Optional) Essential oils
Now for the fun part—adding your favourite scents! Essential oils like peppermint, lavender, or lemon can give your balm a lovely aroma and a subtle tingle. You can also use natural flavourings like vanilla extract or stevia for a sweet taste.
4. Containers and tools
To make your balm, you’ll need a few basic tools:
- A double boiler or a heat-safe bowl and saucepan
- Measuring spoons or a small kitchen scale
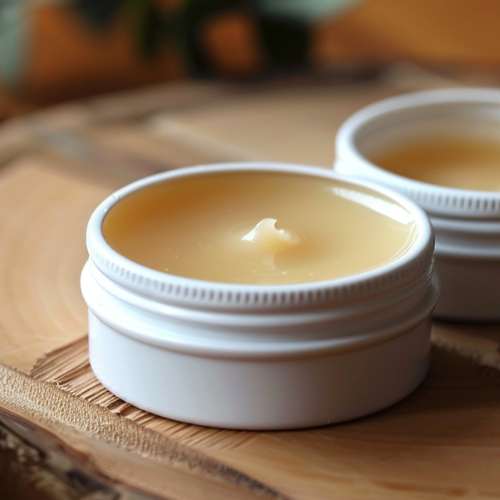
- Lip balm tubes or small tins for storing your finished product (I prefer the tins, so much easier to pour the mix in)
- Pipettes or droppers for adding essential oils (or count the drops if your essential oil has the dropper already incorporated within it)
Once you’ve gathered your ingredients and tools, you’re ready to start making your own incredible lip balm!
Recipe time!!
1. Basic lip balm
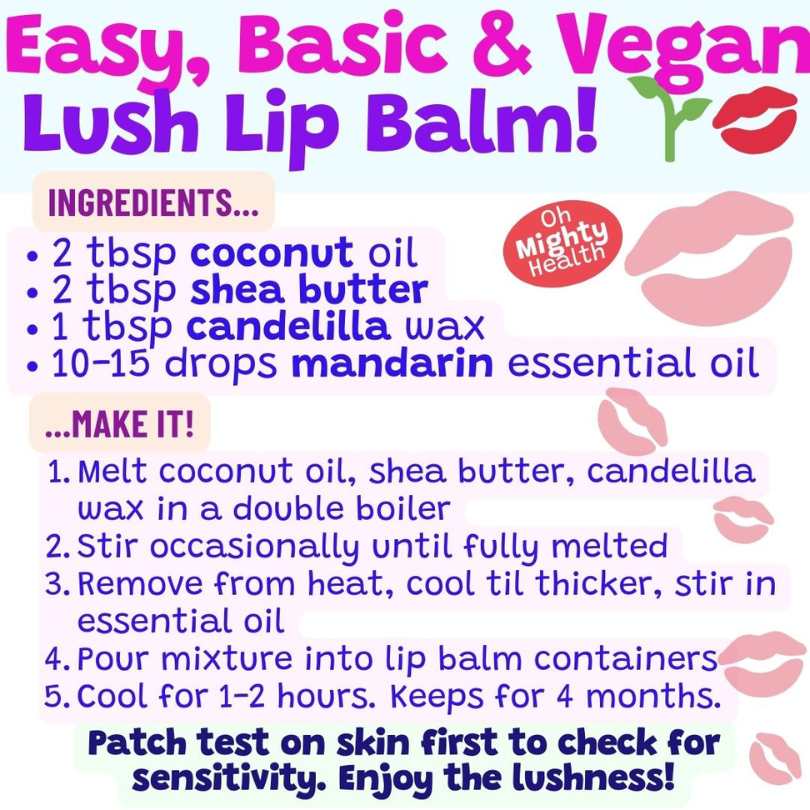
Alright, let’s get down to the nitty-gritty and make some lip balm magic! Here’s a simple, vegan-friendly recipe that you can customise to your heart’s content.
Ingredients and ratios
- 2 tablespoons of your chosen carrier oil (I love coconut oil for its moisturising powers!)
- 2 tablespoons of shea butter or cocoa butter (or a combo of both, because why not?)
- 1 tablespoon of candelilla wax or carnauba wax (for that perfect balmy texture)
- 10-15 drops of your favourite essential oil or flavoring (peppermint is always a good one although I love mandarin essential oil)
Time to make it!
- In a double boiler or a heat-safe bowl nestled in a saucepan, melt your carrier oil, butter, and wax over low heat. Stir occasionally until everything is melted and combined.
- Remove from heat and let the mixture cool for a few minutes. This is important because you DON’OT want to add your essential oils to a super-hot mixture, or they might lose their potency.
- Add your essential oils or flavouring and give it a good stir.
- Carefully pour the mixture into your lip balm tubes or tins. A pipette could help you transfer the liquid more easily although I’ve never tried (perhaps I should, I always end up making a mess).
- Let your balms cool and solidify completely. This usually takes about an hour, so be patient!
Tips & hacks
Now that you’ve got the basic recipe down, it’s time to get creative!
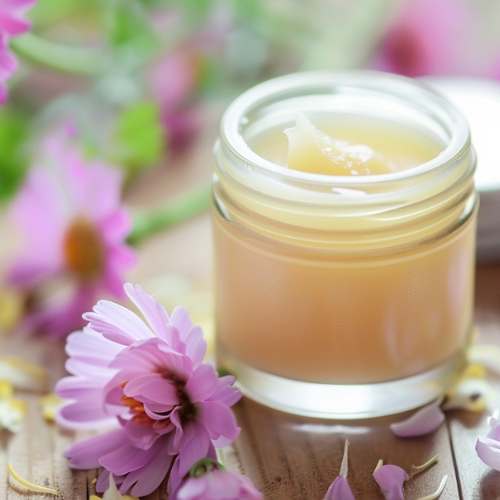
Here are some fun customisation ideas:
- Add a pinch of beetroot powder or mica for a pretty pop of color
- Mix and match essential oils to create your own signature scent. Careful with amounts!! Please research this thoroughly.
- Pro tip (for when you feel comfortable moving to the next level): infuse your carrier oil with dried herbs like chamomile or rose petals for an extra-luxurious balm.
- Experiment with different ratios of ingredients to find your perfect texture. This might take time, but it is worth it.
Let me help you with some of the above (essential oils ratios and different ingredient ratios). You should know the below, so even though it looks boring, please, keep it in mind!
Essential oil RATIOS (important!)
Essential oils ratios for lip balm

Please stick to the below for your safety, essential oils can be dangerous if not used properly.
- Peppermint Essential Oil
- Ratio: 0.5-1% (5-10 drops per 1 ounce of lip balm base)
- Benefits: Cooling, refreshing, and invigorating
- Lavender Essential Oil
- Ratio: 0.5-1% (5-10 drops per 1 ounce of lip balm base)
- Benefits: Calming, soothing, and healing
- Sweet Orange Essential Oil
- Ratio: 0.5-1% (5-10 drops per 1 ounce of lip balm base)
- Benefits: Uplifting, sweet, and citrusy
- Vanilla Essential Oil (or Vanilla Oleoresin)
- Ratio: 0.5-1% (5-10 drops per 1 ounce of lip balm base)
- Benefits: Warm, sweet, and comforting
- Chamomile Essential Oil
- Ratio: 0.5-1% (5-10 drops per 1 ounce of lip balm base)
- Benefits: Gentle, soothing, and anti-inflammatory
- Tea Tree Essential Oil
- Ratio: 0.25-0.5% (2-5 drops per 1 ounce of lip balm base)
- Benefits: Antimicrobial, healing, and cleansing
- Eucalyptus Essential Oil
- Ratio: 0.25-0.5% (2-5 drops per 1 ounce of lip balm base)
- Benefits: Refreshing, cooling, and antiseptic
- Rose Essential Oil
- Ratio: 0.5% (5 drops per 1 ounce of lip balm base)
- Benefits: Romantic, soothing, and anti-inflammatory
- Grapefruit Essential Oil
- Ratio: 0.5-1% (5-10 drops per 1 ounce of lip balm base)
- Benefits: Uplifting, refreshing, and citrusy
- Spearmint Essential Oil
- Ratio: 0.5-1% (5-10 drops per 1 ounce of lip balm base)
- Benefits: Sweet, minty, and refreshing
Some expert tips for your success
Now that you’re well on your way to becoming a lip balm pro, let me share some insider tips to ensure your balms turn out fab every single time!
Sanitation
When you’re making any kind of skincare product, hygiene is key. Make sure to:
- Thoroughly clean and sanitise all your equipment before starting
- Use fresh, high-quality ingredients that haven’t expired
- Avoid touching the mixture with your fingers—use a clean spoon or spatula instead
- Store your finished balms in clean, airtight containers
Experiment with the ingredients
Don’t be afraid to get a little adventurous with your ingredients! Some fun things to try:
- Infusing your oils with dried flowers or herbs for added benefits as mentioned before
- Adding a touch of shimmer with cosmetic-grade mica powder (I personally prefer not to but you might want that lovely vibrant colour on your balm!)
- Using exotic butters like mango or kokum for a unique texture (I love mango butter)
- Playing with different essential oil blends to create your perfect scent (remember the ratios above)
- Adding a few drops of vitamin E to your formula will delay rancidity of the oils and butters. If adding, aim for around 0.5% of the total amount.
Just remember to introduce new ingredients slowly and patch test if you have sensitive skin.
Packaging and labeling
Once you’ve created your perfect balm, don’t forget about presentation! You can:
- Use cute tins or tubes that reflect your personal style
- Create pretty labels with the ingredients and date made
- Gift your balms to friends and family in eco-friendly packaging
- Store your balms in a cool, dry place away from direct sunlight
There you have it
By now I hope you’re convinced that homemade is far better than chemical-laden commercial ones.
One thing is for sure: once you experience the joy of creating your own all-natural, personalised lip balm and enjoy using it, you will never want go back to store-bought again.