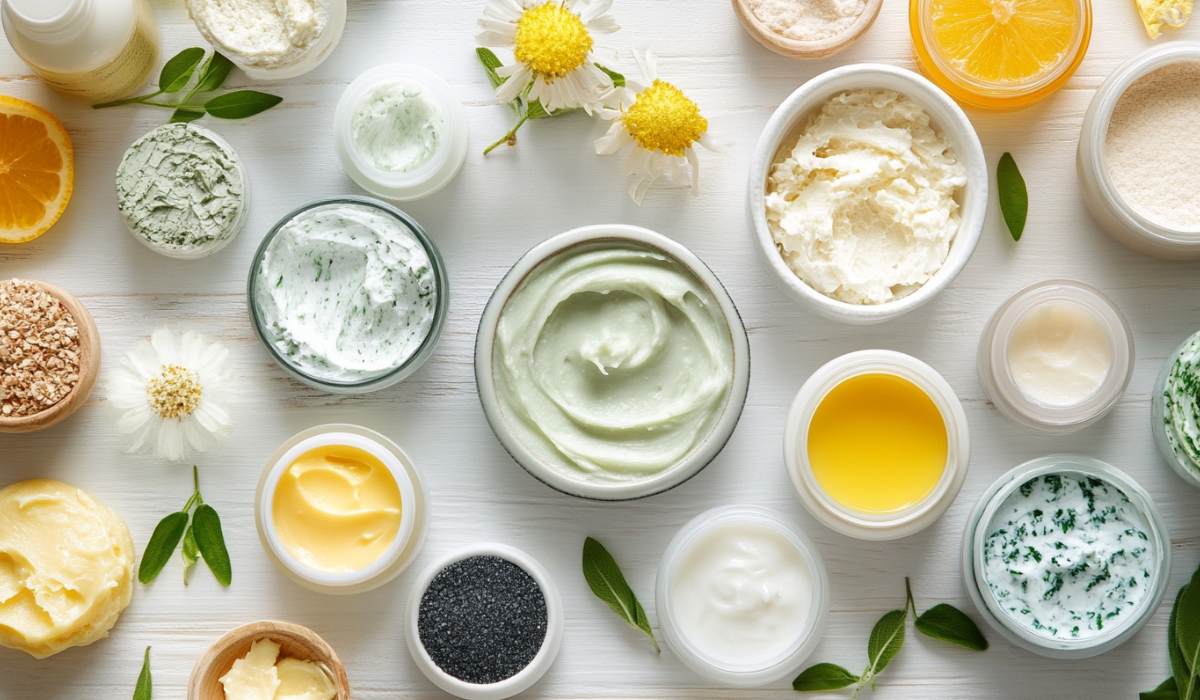
28 Easy DIY Skin Care Recipes for Your Face to Make At Home, Completely Natural!!
Welcome to the world of DIY skin care!
Our skin deserves the best, and homemade skincare recipes are a great way to achieve that.
DIY skincare is not only fun but also ensures you know exactly what goes onto your skin.
As a certified organic skincare formulator, I am excited to share my knowledge and favourite recipes with you. These DIY skincare tips are safe, effective, and made with love for your skin.
Remember, natural face skin care (and for our body, hair, nails, etc) can be simple and effective. With just a few ingredients from your kitchen, you can create products tailored to your skin’s needs.
From cleansers to moisturisers, homemade skincare offers solutions for everyone, I can assure you. My clients always rave on how much their skin has changed after using natural products!
So, get let’s explore easy and effective DIY skin care recipes. Ready to discover how to make your skin glow naturally?
Benefits of natural ingredients and the importance of DIY skin care
Natural ingredients are gentle and effective. They are rich in vitamins, minerals, and antioxidants, which nourish and protect your skin. Using ingredients like agave syrup, coconut oil, and turmeric can enhance your skin’s health and appearance without the risk of irritation (Plus, natural ingredients are environmentally friendly and often more affordable).
DIY skin care allows you to take control of what goes onto your skin. By making your own products, you ensure they are free from harmful chemicals and synthetic additives. This personalised approach can cater to your specific skin needs, whether it’s hydration, anti-ageing, or acne treatment.
28 DIY skin care recipes for face care – COMPLETELY NATURAL!
Ready to make these DIY skin care recipes at home? You will most definitely find something for your skin in the below 28 recipes. They are EASY and FUN to make. Your skin doesn’t need anything more (or less!). Treat it well with the beautiful recipes I’ve written for you below.
Ready? Let’s get started!
🧼 DIY natural cleansers for clear, healthy skin
1. 🍋 Lemon and agave cleanser (for all skin types)
This Lemon and Agave Cleanser is a refreshing treat for all skin types. Lemon, rich in vitamin C, helps brighten the skin and even out tone, while its natural acids gently exfoliate. Agave nectar is a humectant, drawing moisture to the skin and providing gentle hydration. Jojoba oil, closely resembling our skin’s natural sebum, helps balance oil production and soothes the skin.
Ingredients:
- 2 tbsp agave nectar
- 1 tsp fresh lemon juice
- 1 tsp jojoba oil
Instructions:
- Mix agave nectar, lemon juice, and jojoba oil in a small bowl.
- Apply to damp face, massaging gently.
- Rinse with lukewarm water after 1-2 minutes.
Tips:
- Use weekly for sensitive skin, 2-3 times a week for other skin types.
- Replace lemon with cucumber juice for extra hydration.
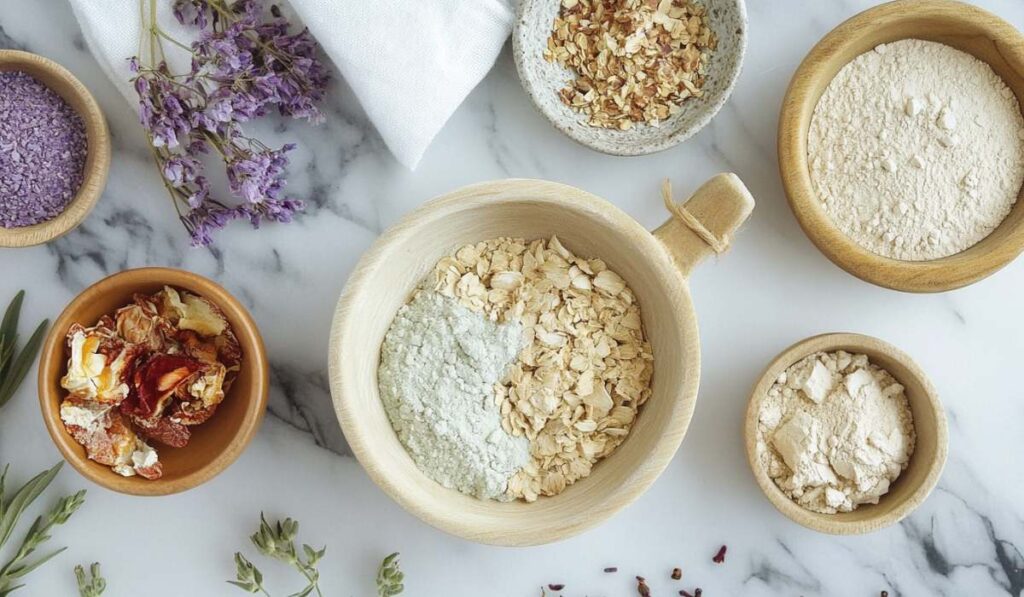
2. 🌾 Oatmeal cleanser (for dry/sensitive skin)
For those with dry or sensitive skin, the Oatmeal Cleanser is a soothing dream. Oats are known for their anti-inflammatory properties, calming irritated skin and reducing redness. They also contain natural cleansers called saponins, which gently remove dirt and oil without stripping the skin. The addition of warm water activates the oats’ soothing properties, making this cleanser particularly comforting for sensitive skin.
Ingredients:
- 1/4 cup ground oats
- 2 tbsp warm water
Instructions:
- Mix ingredients to form a paste.
- Gently massage onto face in circular motions.
- Rinse thoroughly with cool water.
Hack: Add a drop of lavender essential oil for a calming effect.
3. 🍵 Green tea and rice flour cleanser (for oily/acne-prone skin)
If you’re battling oily or acne-prone skin, the Green Tea and Rice Flour Cleanser is your new best friend. Green tea is packed with antioxidants that fight free radicals and reduce inflammation, potentially helping to prevent breakouts. It also has mild astringent properties, helping to control excess oil. Rice flour acts as a gentle exfoliant, removing dead skin cells and unclogging pores, while also absorbing excess oil.
Ingredients:
- 1 tbsp brewed green tea (cooled)
- 2 tbsp rice flour
Instructions:
- Mix ingredients into a smooth paste.
- Apply to face, focusing on oily areas.
- Rinse after 5 minutes with cool water.
Tip: Store unused portion in the fridge for up to 3 days.
4. 🥑 Avocado and aloe vera cleanser (for dry/mature skin)
For those with dry or mature skin, the Avocado and Aloe Vera Cleanser offers deep nourishment. Avocado is rich in healthy fats and vitamins A, D, and E, providing intense moisture and potentially boosting collagen production for firmer skin. Aloe vera is a skin-soothing superstar, offering hydration, reducing inflammation, and potentially helping to reduce the appearance of fine lines.
Ingredients:
- 1/4 ripe avocado
- 1 tbsp aloe vera gel
Instructions:
- Mash avocado and mix with aloe vera gel.
- Apply to face and neck, massaging gently.
- Leave on for 5 minutes, then rinse with warm water.
Hack: Add a few drops of rosehip oil for extra nourishment.
5. 🍊 Citrus enzyme cleanser (For dull/combination skin)
This Citrus Enzyme Cleanser is perfect for dull or combination skin. Citrus fruits like orange and lemon contain natural enzymes that gently exfoliate, revealing brighter, fresher skin. These fruits are also high in vitamin C, which can help even out skin tone and boost collagen production. Baking soda provides additional mild exfoliation, helping to unclog pores and balance combination skin.
Ingredients:
- 1 tbsp orange juice
- 1 tsp lemon juice
- 1 tbsp baking soda
Instructions:
- Mix juices and baking soda to form a paste.
- Apply to damp skin, avoiding eye area.
- Gently massage for 1 minute, then rinse thoroughly.
Tip: Use once a week for a brightening effect.
🧽 Homemade exfoliants to get rid of blackheads
1. 🍚 Sugar scrubs for smooth skin
1.1 🍋 Lemon sugar scrub (for all skin types)
The Lemon Sugar Scrub, suitable for all skin types, is a refreshing exfoliant. Sugar acts as a gentle physical exfoliant, sloughing off dead skin cells to reveal smoother, brighter skin. Lemon, rich in vitamin C, helps brighten the complexion and even out skin tone. Its natural acids provide a mild chemical exfoliation, enhancing the scrub’s effectiveness. Olive oil in the mix offers deep hydration, leaving your skin soft and nourished. The lemon zest adds an extra boost of refreshing scent and additional exfoliating properties.
Ingredients:
- 1/2 cup granulated sugar
- 2 tbsp olive oil
- 1 tsp lemon zest
Instructions:
- Mix all ingredients in a bowl.
- Gently massage onto damp skin in circular motions.
- Rinse with warm water.
Tip: Use once a week for general exfoliation, twice a week for oily skin.
1.2 🍵 Green tea sugar scrub (for acne-prone skin)
For those battling acne-prone skin, the Green Tea Sugar Scrub is a game-changer. Brown sugar provides gentler exfoliation than white sugar, making it ideal for more sensitive, acne-prone skin. Green tea, in the form of matcha powder, is a powerhouse of antioxidants that help fight inflammation and potentially reduce acne. It also has mild astringent properties, helping to control excess oil. Coconut oil, while moisturising, also has antimicrobial properties that can be beneficial for acne-prone skin. Its medium-chain fatty acids can help protect the skin from harmful microorganisms.
Ingredients:
- 1/4 cup brown sugar
- 2 tbsp coconut oil (melted)
- 1 tsp matcha green tea powder
Instructions:
- Combine all ingredients until well mixed.
- Apply to damp face, avoiding the eye area.
- Gently scrub for 1-2 minutes, then rinse.
Hack: Store in an airtight container in the fridge for up to 2 weeks.
2. 👄 Lip scrub for soft, kissable lips
2.1 🍯 Vanilla agave lip scrub
This Vanilla Agave Lip Scrub is a sweet treat for your pout. Brown sugar gently exfoliates dry, flaky skin from your lips, while agave nectar acts as a natural humectant, drawing moisture to your lips. Vanilla extract not only provides a delicious scent but also contains B-vitamins that can help soothe and protect your lips. Jojoba oil, similar in composition to our skin’s natural sebum, deeply moisturises without feeling greasy.
Ingredients:
- 1 tbsp brown sugar
- 1 tsp agave nectar
- 1/2 tsp vanilla extract
- 1/4 tsp jojoba oil
Instructions:
- Mix all ingredients in a small bowl.
- Gently rub onto lips in circular motions for 30 seconds.
- Wipe off with a damp cloth or rinse.
Hack: Apply a lip balm immediately after for extra softness.
2.2 🍓 Berry lip smoothie scrub
This Berry Lip Smoothie Scrub is a fruity delight for your lips. Freeze-dried strawberries not only provide a natural, vibrant colour but also offer vitamin C, which can help in collagen production for plumper lips. They also contain tiny seeds that add extra gentle exfoliation. Coconut oil provides deep moisture and has antimicrobial properties, helping to keep your lips healthy. Raw sugar rounds out the scrub with its exfoliating power, helping to buff away dry skin and leave your lips smooth and kissable.
Ingredients:
- 1 tbsp finely ground freeze-dried strawberries
- 1 tsp coconut oil (solid)
- 1/2 tsp raw sugar
Instructions:
- Mash coconut oil and sugar together.
- Mix in ground strawberries.
- Apply to lips and gently exfoliate for 1 minute.
- Remove with warm water.
Tip: This scrub is edible and tastes great!
🌿 DIY toners and serums for clear, radiant skin
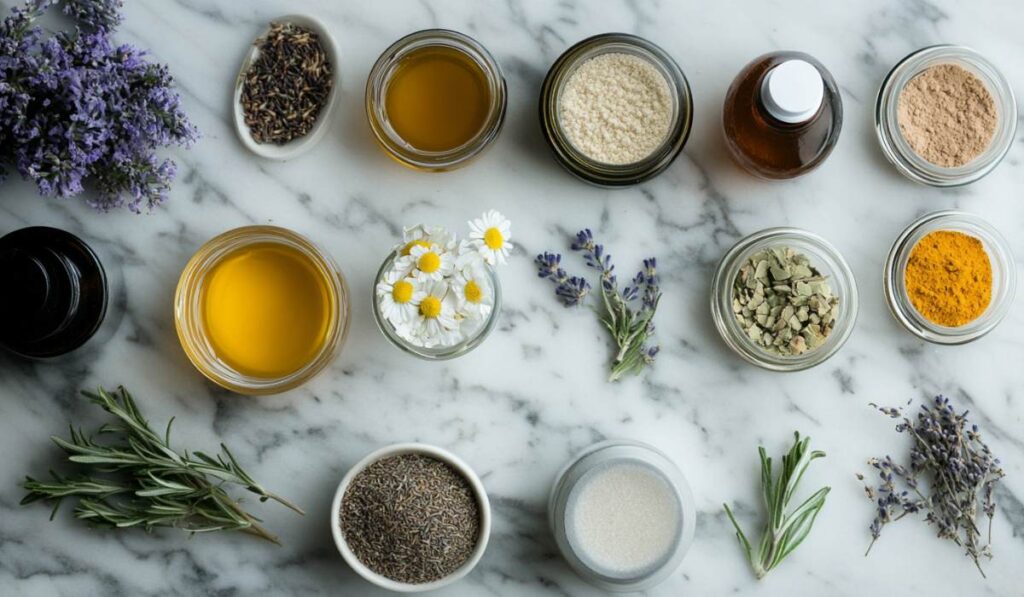
1. 🍃 DIY herbal skin care recipes
1.1 🌺 Rosewater and witch hazel toner (for all skin types)
The Rosewater and Witch Hazel Toner is a versatile option suitable for all skin types. Rosewater is renowned for its soothing and hydrating properties, helping to balance the skin’s pH and reduce redness. Witch hazel, a natural astringent, helps tighten pores and remove excess oil without over-drying. The addition of lavender essential oil provides a calming scent and may help reduce inflammation and promote skin healing.
Ingredients:
- 1/4 cup witch hazel
- 1/4 cup rosewater
- 5 drops lavender essential oil
Instructions:
- Mix all ingredients in a clean bottle.
- Shake well before each use.
- Apply with a cotton pad after cleansing.
Tip: Store in the refrigerator for a cooling effect.
1.2 🍵 Green tea and aloe vera toner (for oily/acne-prone skin)
For those with oily or acne-prone skin, the Green Tea and Aloe Vera Toner is a true champion. Green tea is packed with antioxidants that fight free radicals and reduce inflammation, potentially helping to prevent breakouts. Aloe vera soothes irritation and provides light hydration without clogging pores. Apple cider vinegar helps balance the skin’s pH and has antimicrobial properties that may aid in fighting acne-causing bacteria.
Ingredients:
- 1/2 cup brewed green tea, cooled
- 2 tbsp aloe vera gel
- 1 tsp apple cider vinegar
Instructions:
- Blend all ingredients until smooth.
- Transfer to a clean spray bottle.
- Mist onto face after cleansing, or apply with a cotton pad.
Hack: Add a drop of tea tree oil for extra antibacterial properties.
1.3 🌼 Chamomile and calendula soothing toner (for sensitive skin)
This Chamomile and Calendula Soothing Toner is a gentle giant for sensitive skin. Chamomile is known for its anti-inflammatory properties, helping to calm irritated skin and reduce redness. Calendula is equally soothing and may help promote skin healing. Vegetable glycerin in the mix acts as a humectant, drawing moisture to the skin for added hydration without heaviness.
Ingredients:
- 1/2 cup chamomile tea, brewed and cooled
- 1/4 cup calendula-infused water
- 1 tsp vegetable glycerin
Instructions:
- Mix all ingredients in a clean bottle.
- Apply with a cotton pad or spray onto face.
- Gently pat into skin.
Tip: To make calendula-infused water, steep dried calendula flowers in hot water for 15 minutes, then strain and cool.
2. 🧴 Anti-ageing serum recipes
2.1 🥑 Vitamin c brightening serum
This Vitamin C Brightening Serum is a powerhouse for glowing skin. L-ascorbic acid, the purest form of vitamin C, is a potent antioxidant that helps brighten skin, even out skin tone, and boost collagen production. Vitamin E oil complements vitamin C, enhancing its antioxidant effects and providing additional moisturisation. Vegetable glycerin ensures the serum stays hydrating without feeling greasy.
Ingredients:
- 1 tsp L-ascorbic acid powder
- 1 tbsp distilled water
- 1 tsp vegetable glycerin
- 5 drops vitamin E oil
Instructions:
- Mix L-ascorbic acid with water until dissolved.
- Add glycerin and vitamin E oil, stir well.
- Transfer to a dark glass dropper bottle.
Tip: Use within 1 week and store in the refrigerator.
2.2 🌱 Hyaluronic acid hydrating serum
The Hyaluronic Acid Hydrating Serum is a moisture magnet for your skin. Hyaluronic acid can hold up to 1000 times its weight in water, providing intense hydration and plumping the skin to reduce the appearance of fine lines. Aloe vera adds to the hydrating properties while also soothing the skin. Lavender essential oil not only provides a relaxing scent but also has anti-inflammatory properties that can benefit all skin types.
Ingredients:
- 1/2 tsp hyaluronic acid powder
- 1/4 cup distilled water
- 1 tsp aloe vera gel
- 2 drops lavender essential oil
Instructions:
- Slowly sprinkle hyaluronic acid into water, stirring constantly.
- Let it sit for 1 hour to fully hydrate.
- Mix in aloe vera gel and essential oil.
- Transfer to a clean dropper bottle.
Hack: Apply to damp skin for better absorption.
2.3 🌸 Rosehip and carrot seed anti-ageing serum
This Rosehip and Carrot Seed Anti-Ageing Serum is a nutrient-rich elixir for mature skin. Rosehip seed oil is high in vitamins A and C, promoting cell turnover and collagen production for firmer, brighter skin. Carrot seed essential oil is rich in antioxidants and may help protect the skin from environmental damage. Frankincense essential oil has been traditionally used for its skin-rejuvenating properties, potentially helping to reduce the appearance of fine lines and wrinkles. Geranium essential oil helps balance oil production and may improve skin elasticity, making this serum a well-rounded anti-ageing powerhouse.
Ingredients:
- 2 tbsp rosehip seed oil
- 5 drops carrot seed essential oil
- 3 drops frankincense essential oil
- 2 drops geranium essential oil
Instructions:
- Mix all oils in a dark glass bottle.
- Shake well to combine.
- Apply 2-3 drops to clean, damp skin.
Tip: Use nightly for best results. Always do a patch test with essential oils.
🎯 Targeted treatments for acne and dark spots
🧴 Simple DIY skin care recipes for acne
1. 🌿 Tea tree and aloe spot treatment
Tea tree oil is nature’s antiseptic, helping to combat acne-causing bacteria. Aloe vera soothes inflammation and redness, while providing gentle hydration. Lavender essential oil adds calming properties, potentially reducing stress-related breakouts.
Ingredients:
- 2 tbsp aloe vera gel
- 5 drops tea tree essential oil
- 3 drops lavender essential oil
Instructions:
- Mix all ingredients in a small bowl.
- Apply a small amount directly to blemishes with a clean cotton swab.
- Use morning and night after cleansing.
Tip: Store in a small jar in the refrigerator for up to 1 week.
2. 🌿 Neem and basil acne mask
Neem, known for its antibacterial properties, helps fight acne at its source. Basil complements this with its own antimicrobial effects and adds a clarifying touch. Together, they create a powerful yet natural acne-fighting duo.
Ingredients:
- 1 tbsp neem powder
- 1 tbsp dried basil leaves, ground
- Water or green tea (enough to make a paste)
Instructions:
- Mix neem powder and ground basil in a bowl.
- Add water or green tea slowly until you have a smooth paste.
- Apply to clean face, leave for 15 minutes, then rinse off.
Hack: Add a drop of peppermint oil for a cooling effect.
3. 🍎 Apple cider vinegar toner
Apple cider vinegar helps balance skin pH and has natural astringent properties. It may help reduce acne by creating an environment less favourable to acne-causing bacteria. Rosemary essential oil adds antimicrobial benefits and a refreshing scent.
Ingredients:
- 1 part raw apple cider vinegar
- 3 parts distilled water
- 5 drops of rosemary essential oil
Instructions:
- Mix all ingredients in a clean bottle.
- Shake well before each use.
- Apply with a cotton pad after cleansing.
Tip: Start with a more diluted mix if you have sensitive skin.
🌟 Turmeric recipes for dark spots
1. 🥛 Turmeric and milk brightening mask
Turmeric is renowned for its anti-inflammatory and skin-brightening properties. Plant-based milk provides gentle exfoliation and hydration. Honey or agave nectar acts as a humectant, drawing moisture to the skin.
Ingredients:
- 1 tsp turmeric powder
- 2 tbsp plant-based milk (almond, oat, or coconut)
- 1 tsp honey or agave nectar
Instructions:
- Mix all ingredients to form a paste.
- Apply to clean face, avoiding eye area.
- Leave for 15-20 minutes, then rinse off with lukewarm water.
Hack: Add a pinch of finely ground oats for extra exfoliation.
2. 🍋 Turmeric and lemon juice spot treatment
Turmeric’s anti-inflammatory properties combine with lemon’s natural acids to brighten and potentially fade dark spots. Aloe vera soothes the skin and prevents over-drying.
Ingredients:
- 1/4 tsp turmeric powder
- 1 tsp fresh lemon juice
- 1 tsp aloe vera gel
Instructions:
- Mix ingredients in a small bowl.
- Apply directly to dark spots with a q-tip.
- Leave on for 10 minutes, then rinse off.
Tip: Use at night, as lemon can increase sun sensitivity.
3. 🥥 Turmeric and coconut oil serum
Turmeric’s antioxidant properties pair with coconut oil’s moisturising and antimicrobial benefits. Frankincense essential oil adds potential anti-ageing effects, making this serum beneficial for overall skin health.
Ingredients:
- 1 tbsp coconut oil (melted)
- 1/4 tsp turmeric powder
- 2 drops frankincense essential oil
Instructions:
- Mix turmeric into melted coconut oil until well combined.
- Add frankincense oil and stir.
- Apply a thin layer to face before bed.
Tip: Place a towel on your pillowcase to avoid staining from the turmeric.
✨ Natural moisturisers for glowing skin
💧 Homemade beauty recipes for daily hydration
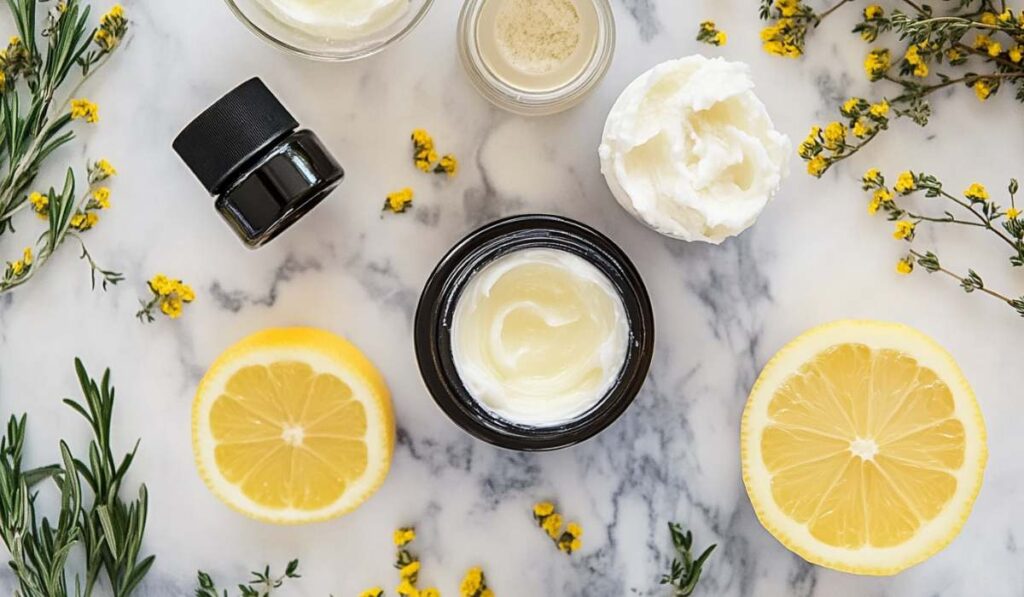
1. 🌺 Rosehip and jojoba face moisturising oil
The Rosehip and Jojoba Face Moisturising Oil is a luxurious blend for all skin types. Rosehip oil is rich in vitamins A and C, promoting cell turnover and collagen production for firmer, brighter skin. It’s also high in linoleic acid, making it excellent for acne-prone skin. Jojoba oil closely mimics our skin’s natural sebum, helping to balance oil production and deeply moisturise without clogging pores. Vitamin E oil adds to the antioxidant properties, protecting the skin from free radical damage and supporting overall skin health.
Ingredients:
- 2 tbsp jojoba oil
- 1 tbsp rosehip seed oil
- 3 drops vitamin E oil
Instructions:
- Mix all oils in a dark glass bottle.
- Shake well to combine.
- Apply 3-4 drops to clean, damp skin.
Tip: Gently pat into skin rather than rubbing for better absorption.
2. 🥥 Coconut and argan oil blend for dry skin
For those with dry skin, the Coconut and Argan Oil Blend is a dream come true. Fractionated coconut oil is lightweight yet deeply moisturising, and its medium-chain fatty acids have antimicrobial properties that can help protect the skin. Argan oil, often called ‘liquid gold’, is rich in vitamin E and fatty acids, providing intense hydration and potentially reducing inflammation. The addition of lavender essential oil not only imparts a calming scent but also offers anti-inflammatory benefits that can soothe dry, irritated skin.
Ingredients:
- 1 tbsp fractionated coconut oil
- 1 tbsp argan oil
- 2 drops lavender essential oil
Instructions:
- Combine all oils in a small bottle.
- Shake well before each use.
- Massage 4-5 drops into face and neck.
Hack: Add a drop of peppermint oil for a cooling effect in summer.
3. 🌸 Lightweight aloe and grapeseed moisturiser for normal or combination skin
This Lightweight Aloe and Grapeseed Moisturiser is perfect for normal or combination skin. Aloe vera gel is renowned for its soothing and hydrating properties, providing moisture without heaviness. Grapeseed oil is light and easily absorbed, making it ideal for those who need hydration but are wary of heavy oils. It’s rich in linoleic acid and antioxidants, potentially helping to fight acne and signs of ageing. Vegetable glycerin acts as a humectant, drawing moisture to the skin for lasting hydration.
Ingredients:
- 2 tbsp aloe vera gel
- 1 tbsp grapeseed oil
- 1/2 tsp vegetable glycerin
Instructions:
- Whisk all ingredients together until well combined.
- Transfer to a clean, airtight container.
- Apply a small amount to face and neck after cleansing.
Tip: Store in the fridge for a cooling and refreshing application.
🌿 DIY essential oil skin care recipes for anti-ageing
1. 🍯 Frankincense and marula moisturising serum
This Frankincense and Marula Moisturising Serum is a potent anti-ageing blend. Marula oil is rich in antioxidants and omega fatty acids, providing deep hydration and potentially improving skin elasticity. Frankincense essential oil has been traditionally used for its skin-rejuvenating properties, potentially helping to reduce the appearance of fine lines and wrinkles. Geranium essential oil helps balance oil production, while carrot seed oil adds another layer of antioxidant protection.
Ingredients:
- 2 tbsp marula oil
- 3 drops frankincense essential oil
- 2 drops geranium essential oil
- 1 drop carrot seed essential oil
Instructions:
- Mix all oils in a dark glass dropper bottle.
- Shake gently to combine.
- Apply 2-3 drops to face and neck before bed.
Hack: Add a drop of blue tansy oil for extra calming properties.
2. 🍊 Vitamin C brightening moisturiser
The Vitamin C Brightening Moisturiser is a powerhouse for glowing skin. L-ascorbic acid, the purest form of vitamin C, is a potent antioxidant that helps brighten skin, even out skin tone, and boost collagen production. Aloe vera gel provides soothing hydration, while sweet almond oil nourishes the skin with vitamins E and K. Geranium essential oil adds a balancing effect, potentially helping to improve circulation for a natural glow.
Ingredients:
- 1 tsp vitamin C powder (L-ascorbic acid)
- 2 tbsp aloe vera gel
- 1 tsp sweet almond oil
- 2 drops geranium essential oil
Instructions:
- Mix vitamin C powder with aloe vera gel until dissolved.
- Add sweet almond oil and geranium essential oil.
- Apply to clean face, avoiding the eye area.
Tip: Use within 1 week and store in an airtight container in the fridge.
3. 🍊 Vitamin C and sea buckthorn oil blend
The Vitamin C and Sea Buckthorn Oil Blend combines two super-ingredients for skin health. Sea buckthorn oil is incredibly rich in vitamins C, E, and rare omega-7 fatty acids, providing intense nourishment and potentially aiding in skin repair. Combined with the collagen-boosting properties of vitamin C, this blend offers potent anti-ageing and skin-brightening effects. Rosehip oil adds additional vitamins A and C, while sandalwood essential oil provides a grounding scent and potential antimicrobial benefits.
Ingredients:
- 1 tsp sea buckthorn oil
- 1 tbsp rosehip oil
- 1/4 tsp vitamin C powder (L-ascorbic acid)
- 2 drops sandalwood essential oil
Instructions:
- Mix oils in a dark glass bottle.
- Add vitamin C powder and shake vigorously until dissolved.
- Add sandalwood oil and shake again.
- Apply 4-5 drops to clean face, avoiding the eye area.
Tip: Use within 2 weeks and store in a cool, dark place.
4. 🌹 Rose and pomegranate seed oil elixir
This Rose and Pomegranate Seed Oil Elixir is a luxurious treat for the skin. Pomegranate seed oil is rich in punicic acid, a potent antioxidant that may help fight free radicals and support skin regeneration. Evening primrose oil is high in gamma-linolenic acid, which can help improve skin elasticity and moisture levels. Rose essential oil not only provides a beautiful scent but also has anti-inflammatory properties that can help soothe and balance the skin. Helichrysum essential oil, known for its skin-regenerating properties, rounds out this elixir, potentially helping to fade scars and promote a youthful complexion.
Ingredients:
- 2 tbsp pomegranate seed oil
- 5 drops rose essential oil
- 3 drops carrot seed essential oil
- 2 drops sandalwood essential oil
Instructions:
- Mix all oils in a dark glass bottle.
- Shake well to combine.
- Apply 4-5 drops to clean, damp skin.
Tip: Gently massage into skin using upward motions for a mini face lift.
🌿 Benefits of DIY Natural Skin Care Recipes
Here’s a reminder of the wonderful benefits of DIY skin care!
- 🧪 Know What’s In Your Products
- Wave goodbye to mystery ingredients! With DIY, you’re in control.
- Choose gentle, natural components that your skin will love.
- 💷 Budget-Friendly Beauty
- Save those pounds! Homemade skincare can be incredibly cost-effective.
- Invest in a few quality ingredients for multiple recipes.
- 🌍 Eco-Friendly Glow
- Reduce packaging waste and your carbon footprint.
- Many ingredients are biodegradable and kind to our planet.
- 🎨 Customisation is Key
- Tailor your skincare to your unique needs. Oily T-zone? Dry patches? You’ve got this!
- Adjust recipes as your skin changes with seasons or lifestyle.
- 🧘♀️ Self-Care Rituals
- Turn skincare into a mindful, enjoyable experience.
- Feel proud using products you’ve crafted with love.
🌈 Easy, effective solutions for every skin type
A few tips you will probably need at some point in your DIY skin care journey:
- 💧 Dry Skin: Nourishing oils and hydrating ingredients are your new best friends.
- Try the Rosehip and Jojoba Face Oil for deep hydration.
- �oil Oily Skin: Light, non-comedogenic options help balance without clogging.
- The Green Tea and Rice Flour Cleanser can be your go-to for oil control.
- 🌵 Sensitive Skin: Gentle, fragrance-free recipes keep irritation at bay.
- Soothe your skin with the Chamomile and Calendula Toner.
- 🍂 Mature Skin: Anti-ageing ingredients boost collagen and fight fine lines.
- The Frankincense and Marula Oil Serum is perfect for nurturing mature skin.
- ⚖️ Combination Skin: Mix and match recipes to address different areas.
- Use the Lightweight Aloe and Grapeseed Oil Moisturiser for balanced hydration.
🧴 Storage and shelf life of your homemade skincare
🌿 Keeping your DIY skin care fresh and effective
- 🧊 Cool and Dark: Your New BFFs
- Store your creations in a cool, dark place – think medicine cabinet, not sunny windowsill!
- For extra freshness, pop water-based products in the fridge. Hello, refreshing face mist!
- 🧼 Cleanliness is Key
- Always start with squeaky clean hands and containers.
- Use sterilised bottles and jars – a quick boil or alcohol wipe does the trick!
- ⏰ Timing is Everything
- Water-based products: Use within 1 week if unpreserved.
- Oil-based products: Generally last 3-6 months.
- Tip: Write the date on your container – future you will thank you!
- 🔬 Preservation Perception
- Natural preservatives like vitamin E oil or grapefruit seed extract can extend shelf life.
- When in doubt, make small batches. Fresh is best!
- 👀 Trust Your Senses
- Any changes in colour, smell, or texture? Time to say goodbye!
- Remember: When in doubt, throw it out. Your skin deserves the best!
🛡️ Safety tips and allergy considerations
🌸 Ensuring safe and gentle homemade skincare
- 🧪 Patch Test: Your Skin’s BFF
- Always do a patch test on your inner arm before trying a new product.
- Wait 24 hours to check for any reactions. Patience is a virtue!
- 🌿 Know Your Ingredients
- Research each ingredient – natural doesn’t always mean gentle for everyone.
- Essential oils are potent! Always dilute properly.
- 🧭 Less is More
- Start with fewer ingredients and slowly introduce new ones.
- It’s easier to pinpoint any troublemakers this way!
- 🚫 Avoid the Danger Zone
- Keep your DIY products away from your eyes and mouth.
- Some ingredients (like citrus oils) can make your skin sun-sensitive. Night-time use is best!
- 🤰 Special Considerations
- Pregnant or nursing? Check with your doctor before using essential oils.
- Got sensitive skin? Stick to gentle, fragrance-free recipes.
- 🩹 Listen to Your Skin
- If it stings, burns, or itches – wash it off immediately!
- Your skin is unique. What works for others might not work for you, and that’s okay!
Remember, crafting your own skincare should be fun and rewarding. By following these tips, you’ll be well on your way to safe and effective DIY beauty. Happy mixing, and here’s to your glowing, happy skin! 🌟
So… what are you waiting for?
Remember, beautiful skin starts with loving care, and what could be more caring than crafting your own personalised skincare? You’ve got all the tools and knowledge now – it’s time to start your DIY skincare adventure!
Don’t be afraid to experiment, adjust recipes, and find what works best for you. Your skin is unique, and now your skincare can be too. Here’s to happy, healthy, glowing skin – naturally!
So, roll up your sleeves, put on your mixologist hat, and get ready to glow. Your skin will thank you, your wallet will thank you, and Mother Nature will thank you too. Happy crafting, and remember – you’ve got this! 🌟🧴✨