Why Your DIY Coffee Scrub Isn’t Working (And How to Fix It!)
Made a DIY coffee scrub but not seeing results?
Maybe it’s too drying, too rough, or just not as effective as you hoped?
Find out what went wrong and how to fix it!
I’m helping you below with the things you won’t easily find elsewhere.
That’s my job. 🙂
I’m Patri Hernandez, a certified organic skincare formulator and certified health coach by the INN Institute. My passion is healthy living—beauty and wellness. I share my knowledge to help you transition to a more natural way of living.
So, why isn’t your coffee scrub working?
Have you ever made a coffee scrub expecting silky, radiant skin, only to end up feeling underwhelmed—or worse, irritated?
Hm.
You mix up a batch, scrub away, rinse off… and the results?
You: meh.
Alright, let’s figure out what’s going on.
Coffee scrubs are hugely popular in natural skincare—rightfully so! They’re packed with antioxidants, can boost circulation, and leave your skin feeling fresh. But if yours isn’t working as expected, there’s a good chance something’s off with the ingredients, technique, or application—I can assure you.
DIY skincare: fun, but trickier than it looks
It’s easy to think natural skincare is all about mixing a few things together and—boom—you’ve got the perfect product.
In reality there are lots of little things you need to get right.
I won’t say it takes endless hours of work (no, I’m not that dramatic), but paying attention to the details will SAVE YOU from wasting time on a scrub that doesn’t do its job.
So, what are these small but important details? Let’s get into the mistakes you might be making—and how to fix them!
Mistake #1: Using the Wrong Type of Coffee
Not all coffee is created equal—especially when it comes to scrubs.
If your DIY coffee scrub isn’t working, grind size might be the issue. Too rough? Too gentle? Not quite getting that smooth, fresh feeling?
Let’s break it down.
Here’s what could be going wrong:
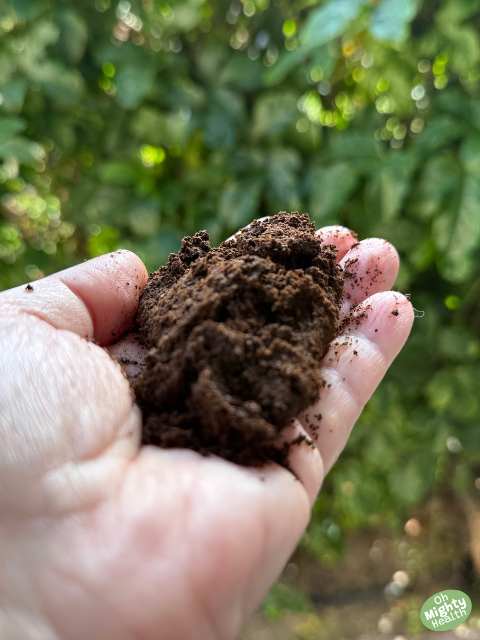
☕ Too coarse? Larger coffee grounds may not provide enough surface contact to exfoliate effectively. Instead of gently buffing away dead skin, they tend to roll over the skin without doing much work.
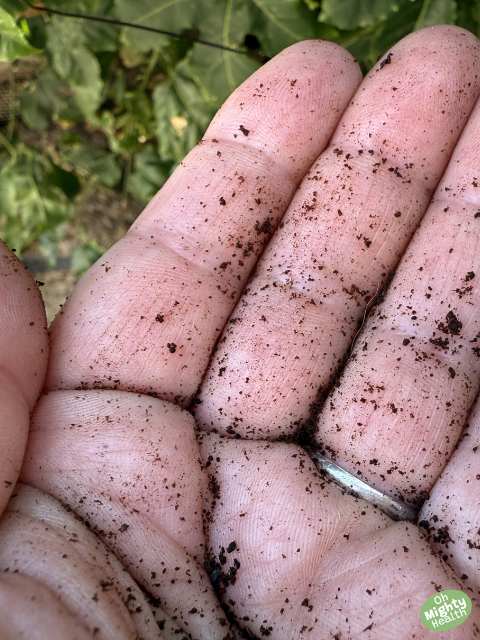
☕ Too fine? Superfine grounds—think espresso grind—can be too abrasive. They’re small enough to create micro-tears, leading to irritation and over-exfoliation.
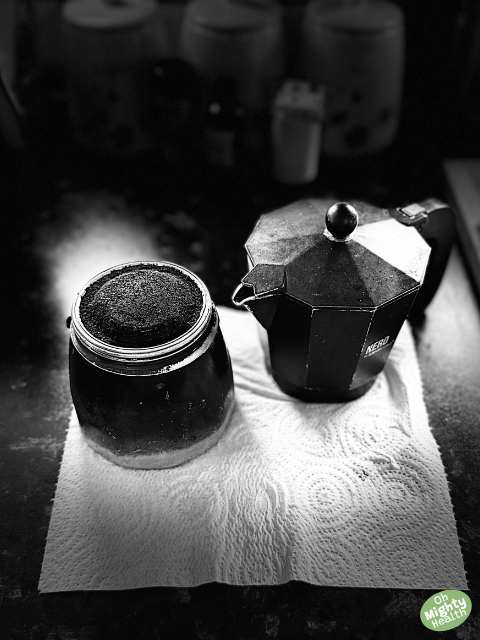
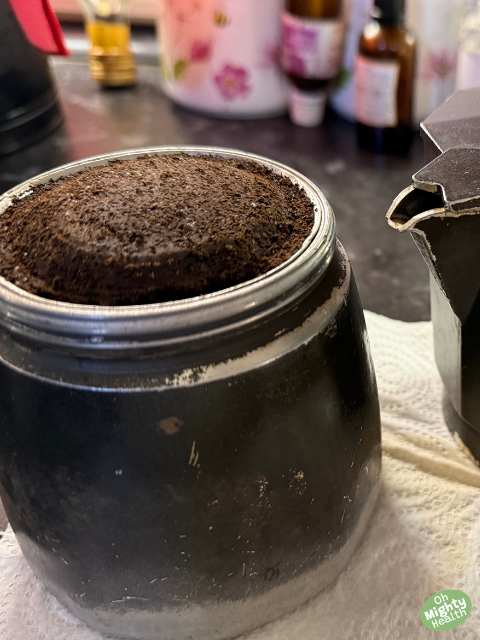
☕ Using used coffee grounds? While they still offer physical exfoliation, they’ve lost some of their antioxidant and oil content during brewing. This means you’re getting exfoliation, but missing out on some of the nourishing benefits fresh coffee provides.
How to fix it:
✔️ For the face → Use fine to medium grounds. You want gentle exfoliation without irritation.
✔️ For the body → Opt for medium-coarse coffee grounds—effective but not too harsh.
✔️ Used grounds? If you’re reusing coffee, mix in a nourishing oil (like jojoba or sweet almond) to compensate for lost moisture.
Mistake #2: Not Adding Enough Moisturising Ingredients
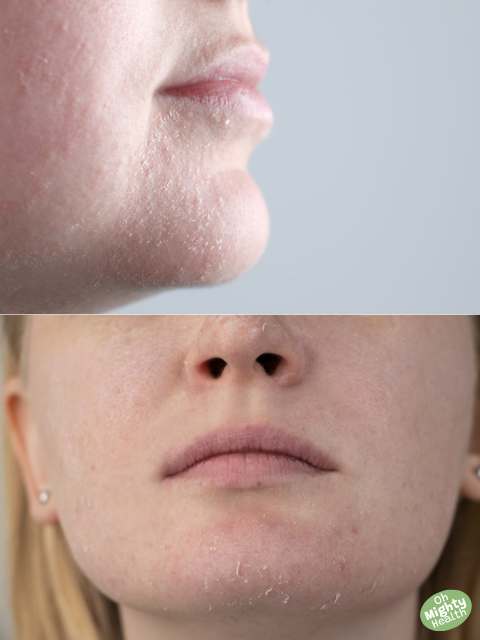
Ever used a DIY coffee scrub that left your skin feeling dry, tight, or even irritated?
That’s because coffee alone isn’t enough. It is an exfoliant, NOT a moisturiser.
A scrub that’s too dry can be rough on your skin, STRIPPING AWAY natural oils instead of leaving it soft and smooth.
Here’s what could be going wrong:
🚫 Only using dry coffee grounds? Without a moisturising ingredient, your scrub is just… scratchy. Great for polishing furniture, not so much for your skin.
🚫 Not enough oil or humectants? A little bit of oil goes a long way. Without it, the scrub won’t glide smoothly, making exfoliation too harsh.
🚫 Using water instead of oil? Water can cause coffee grounds to clump together, making application uneven and increasing friction on the skin.
How to fix it:
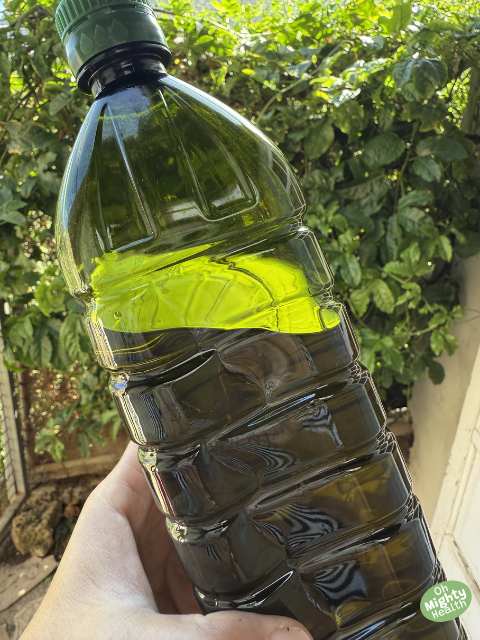
✔️ Mix coffee with a nourishing oil → Good options: sweet almond oil, jojoba oil, or coconut oil (for extra hydration).
✔️ Add a humectant for extra softness → Try aloe vera gel or glycerin to draw moisture into the skin.
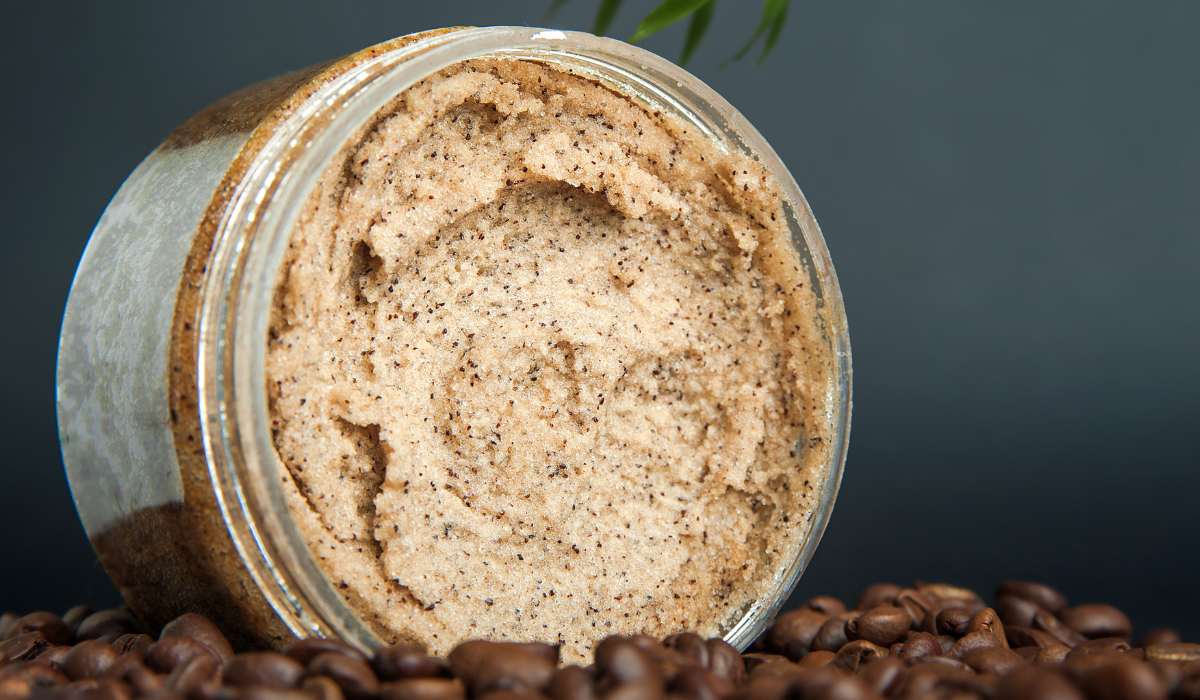
✔️ Test the texture → Your scrub should be slightly damp, not dry or crumbly. Adjust the oil-to-coffee ratio until it feels right.
Mistake #3: Scrubbing Too Hard or Too Often
I do get it: you want smooth, glowing skin.
But scrubbing like your life depends on it? That’s a fast track to redness, irritation, and sensitivity.
Exfoliation should buff away dead skin cells, not attack your skin barrier. Overdoing it can lead to dryness, breakouts, and even make your skin more prone to irritation.
Here’s what could be going wrong:
🚫 Scrubbing too aggressively? Harder isn’t better. If your skin feels sore afterward, you’ve overdone it.
🚫 Using it every day? Exfoliating too often can strip the skin, leading to dryness, sensitivity, or breakouts (yes, too much exfoliation can actually make your skin worse!).
🚫 Applying too much pressure? Pressing down hard doesn’t make the scrub work better—it just increases friction, which can damage your skin.
How to fix it:
✔️ Be gentle → Use light, circular motions instead of scrubbing harshly. Let the coffee do the work.
✔️ Limit use → Face: 1-2 times a week | Body: 2-3 times a week (max).
✔️ Listen to your skin → If it feels tight, sore, or irritated, give it a break. Over-exfoliated skin needs time to recover.
Mistake #4: Applying It on Dry Skin
If you’re slathering on your coffee scrub before wetting your skin, you might not be getting the best results.
Dry skin doesn’t absorb ingredients well, meaning your scrub won’t spread evenly, and exfoliation can feel way too harsh.
Think of it like trying to rub sandpaper on a dry surface… It’s just not smooth.
Here’s what could be going wrong:
🚫 Applying to completely dry skin? This increases friction and makes exfoliation too abrasive.
🚫 Not softening your skin first? Dry, dehydrated skin doesn’t exfoliate as effectively, meaning you won’t get that soft, refreshed feeling.
🚫 Skipping steam or warm water? Exfoliation works best when your skin is slightly damp and prepped, not bone dry.
How to fix it:
✔️ Wet your skin first → The best time to scrub is in the shower or after cleansing when your skin is damp.
✔️ Use warm (not hot) water → Warm water helps soften the skin, making exfoliation gentler and more effective.
✔️ Try it after steaming your face → This helps open pores and allows the scrub to work more effectively.
Mistake #5: Incorrect Ingredient Ratios
Ever made a DIY coffee scrub that felt too dry, too oily, or just… off?
Getting the ingredient ratios right is key to making sure your scrub actually works.
Too much coffee? It won’t spread well.
Too much oil? You’ll end up greasy instead of glowing.
Not enough exfoliation? Might as well be using a lotion.
Here’s what could be going wrong:
🚫 Too much coffee, not enough oil? Your scrub ends up crumbly and hard to spread.
🚫 Too much oil? Instead of exfoliating, your skin feels greasy and coated.
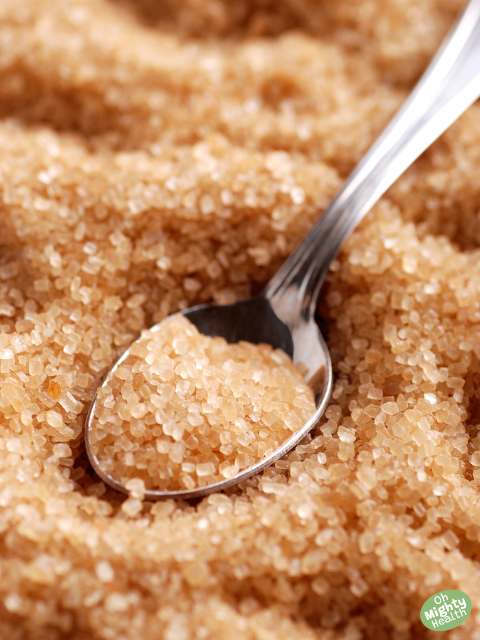
🚫 Skipping extra exfoliants? Coffee is great, but a little sugar or salt can make it even more effective.
How to fix it:
✔️ Stick to a balanced mix → A good starting ratio:
- ½ cup coffee grounds
- ¼ cup carrier oil (like coconut or sweet almond)
- 1 tbsp sugar or salt (optional but great for EXTRA exfoliation!)
✔️ Adjust to your skin type → Oily skin? Reduce the oil. Dry skin? Add a little extra.
✔️ Test the texture → Your scrub should be moist but not dripping, easy to spread without clumping.
Mistake #6: Clogging Your Drain
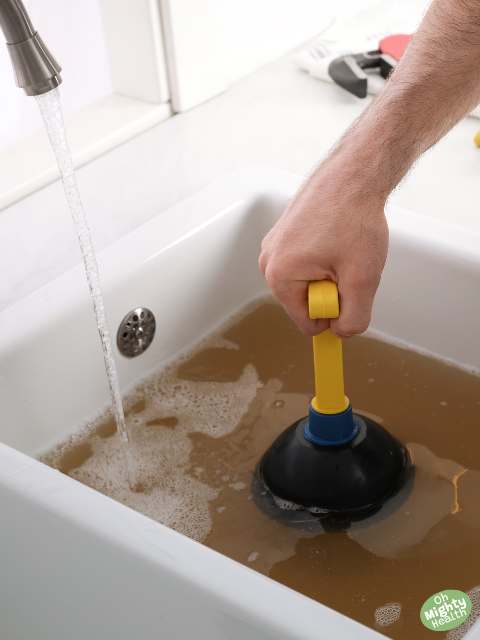
You love your coffee scrub. Your pipes? Not so much.
If you’re rinsing coffee grounds straight down the drain, you might be setting yourself up for a plumbing nightmare. Coffee doesn’t dissolve in water, meaning over time, those little granules can build up and block your pipes. Not exactly the kind of skincare problem you were expecting, right?
Here’s what could be going wrong:
🚫 Washing it straight down the sink/shower? Coffee grounds don’t break down in water, so they can accumulate in your pipes.
🚫 Using only coffee (no dissolving ingredients)? A scrub made purely of coffee grounds is more likely to stick together and clog drains.
🚫 No drain protection? Without something to catch the grounds, you’re basically feeding your pipes a slow-moving disaster.
How to fix it:
✔️ Use a fine-mesh drain catcher → This traps coffee grounds so you can toss them in the bin or compost.
✔️ Mix coffee with dissolvable exfoliants → Adding sugar or salt helps break up the scrub so it rinses away more easily.
✔️ Dispose of leftovers properly → Instead of washing everything away, scrape used scrub into the bin or compost pile.
Mistake #7: Skin Irritation or Breakouts
Tried a DIY coffee scrub and ended up with red, itchy skin or surprise breakouts?
Not exactly the glow-up you were hoping for.
While coffee scrubs can be amazing for your skin, they’re not one-size-fits-all.
Some skin types react differently, and certain ingredients (or the way you use them) could be causing irritation instead of radiance.
Here’s what could be going wrong:
🚫 Scrubbing too hard or too often? Over-exfoliation weakens your skin barrier, making it more prone to irritation, dryness, or breakouts.
🚫 Coffee grounds too rough for your skin? If your skin is sensitive, even a well-made scrub might be too abrasive.
🚫 Using essential oils that are irritating? Some oils (like cinnamon or citrus) can be too harsh, especially on freshly exfoliated skin.
🚫 Not patch testing first? If you’re using a new ingredient, your skin might not like it.
How to fix it:
✔️ Be gentle → Light pressure, circular motions—no need to scrub like you’re sanding wood.
✔️ Adjust the grind → Sensitive skin? Use finer coffee grounds or switch to oat flour or rice powder for a gentler scrub.
✔️ Avoid irritating ingredients → If you’re adding essential oils, stick to skin-friendly ones like lavender or chamomile.
✔️ Always patch test! → Apply a small amount to your inner arm, wait 24 hours, and see how your skin reacts before going all in.
Bonus Tips for a More Effective Coffee Scrub
Now that you know what not to do, here are a few extra tricks to take your coffee scrub to the next level. Because why settle for just “okay” when you can get amazing results?
✔️ Use freshly brewed coffee grounds (cooled down, of course!) → Freshly used grounds still have some antioxidants left, making them a great alternative if you don’t want to waste coffee.
✔️ Store your scrub properly → Keep it in a sealed jar and use within one week if it contains water-based ingredients (like aloe vera). No preservatives? No long shelf life!
✔️ Follow up with a hydrating step → Always apply a moisturiser or facial oil after exfoliating to lock in hydration.
✔️ Try a warm compress before exfoliating → Steaming your face or body before scrubbing opens up pores and helps the coffee work better.
✔️ Use it on damp, not dripping wet, skin → This gives you the perfect amount of friction for effective exfoliation without irritation.
✔️ Don’t forget your lips! → A tiny dab of coffee scrub can gently buff away flaky skin on your lips—just don’t scrub too hard!
Your Coffee Scrub Can Work. Here’s How!
So, there you have it! DIY coffee scrubs can be amazing when done right. Avoid these common mistakes, follow the simple fixes, and you’ll be on your way to smoother, healthier skin.
Got a favourite coffee scrub trick?
Tried one of these fixes and loved the results?
Let me know! I’d love to hear how it worked for you.