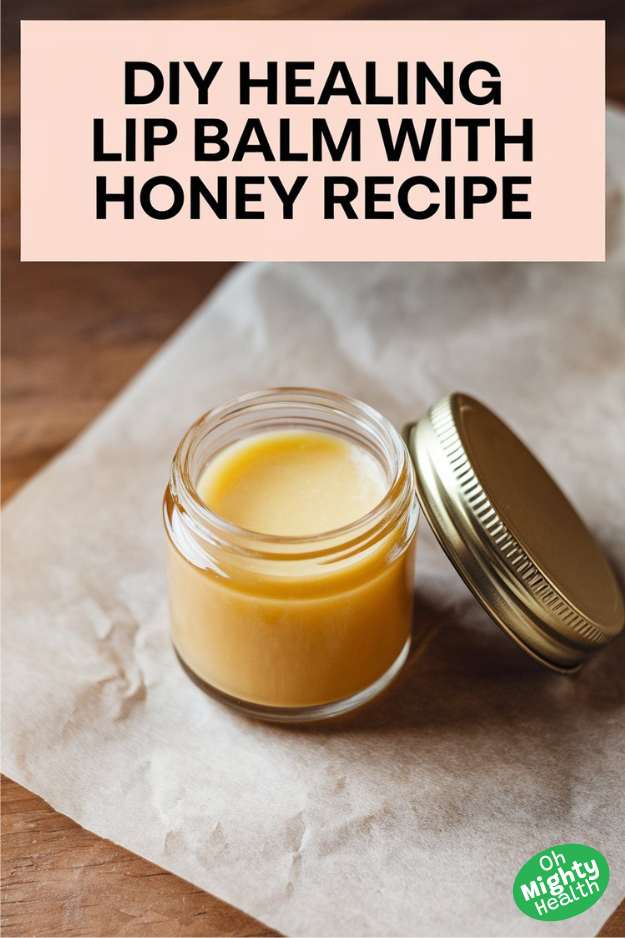
DIY Healing Lip Balm with Honey Recipe
This healing balm is made with only a few ingredients and can be used whenever you have a chapped, irritated, cracked, sore or dry lip.
About this Healing Balm
This recipe is for a homemade, organic healing lip balm with honey. It is a simple, but very effective recipe. Whether your lips are cracked from the dry winter air or chapped from sun damage.

The honey in this lip balm makes it a super hydrating treatment for dry, sore and chapped lips. The honey also enhances the healing properties of the lip balm. This is also a great homemade balm for larger family or even small group projects, i.e. school projects or workshops.
This lip balm recipe can be made with all-natural ingredients, no chemicals or harmful synthetics are needed! I also recommend you only buy organic ingredients to make your recipes in general.
Why beeswax? Beeswax is made from the honeycomb of the bee. So no pesticides or chemicals are needed in its production. It also helps make thicken the balm.
NOTE: This is NOT a vegan product since it contains honey and beeswax.
Ingredients
Disclosure: This post contains affiliate links. I receive a small commission at no cost to you when you make a purchase using my link.
- 2 tablespoon organic olive oil (conditions and protects lips)
- 2 tablespoon organic sesame oil (antioxidant and anti-inflammatory properties)
- 2 tablespoon organic grapeseed oil (packed with vitamin E)
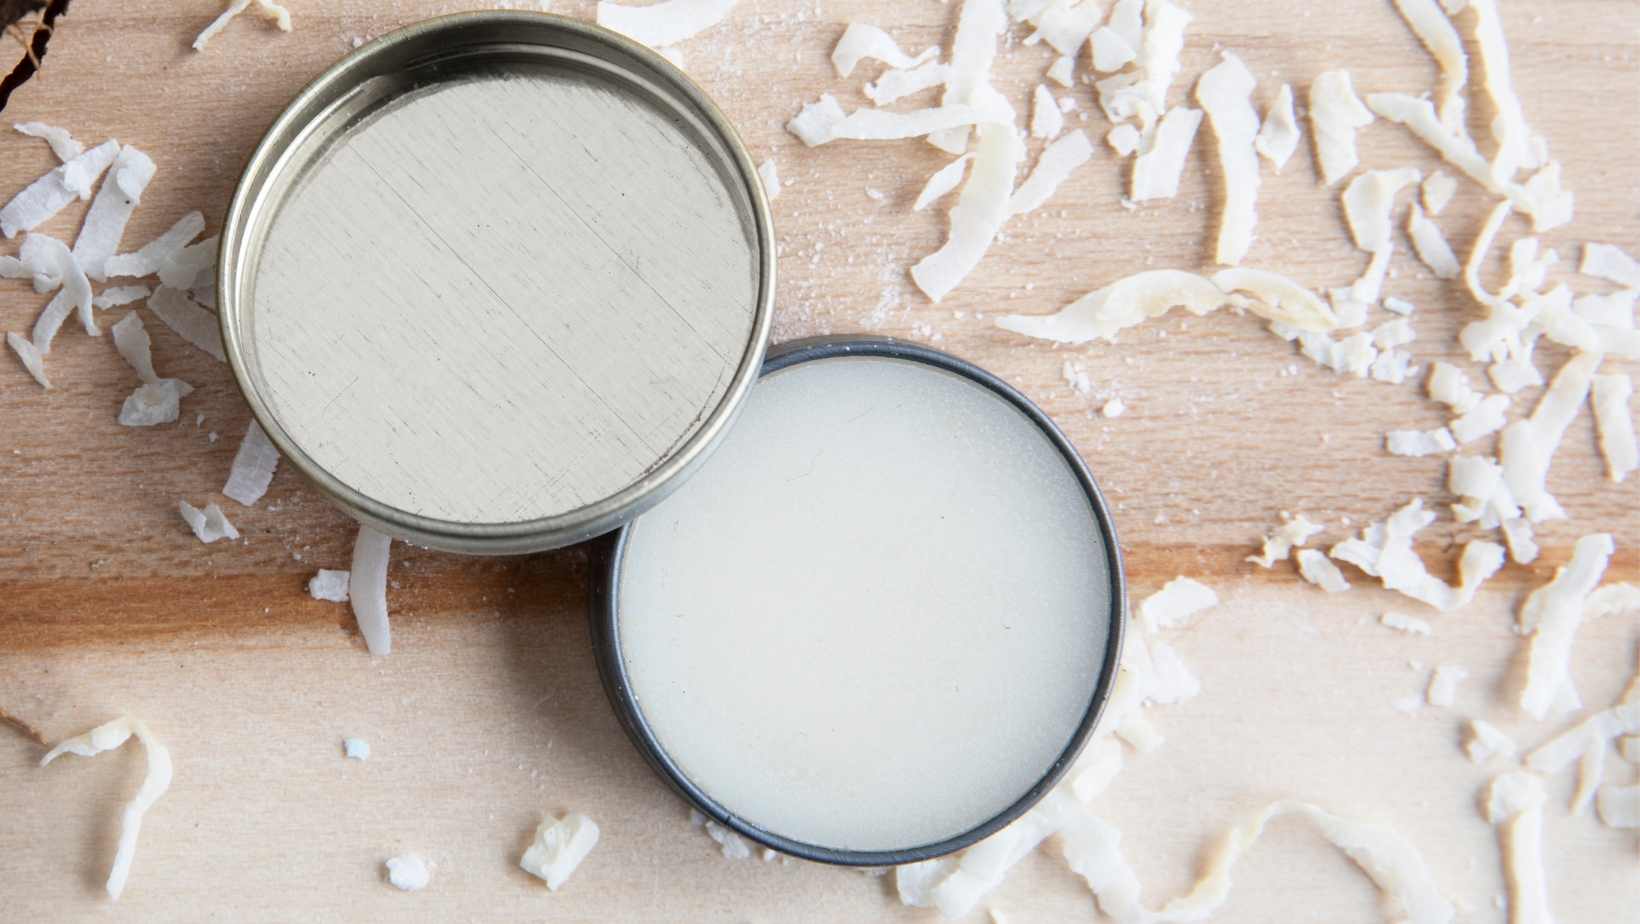
- 1 tablespoon organic beeswax pellets (occlusive, sealer, protects and retains moisture)
- 1/4 teaspoon organic honey (antimicrobial, anti-inflammatory, and wound healing properties)
- 2 drops organic tea tree essential oil (optional – helps heal chapped lips)
Utensils and Packaging
The recipe will be enough for about 3-4 ounces of lip balm. You can fill around 20 tubes approx. I like to use tins as they’re easier for me to work with but this is a personal choice.

- 20 lip balm tubes or, alternatively, 20 tins (20ml)
- Alcohol 70% for disinfecting utensils
- Ingredients (links for purchasing above)
- Gift bags
- Labels

Directions
- Wash and disinfect your tubes or tins with warm or hot soapy water, rinse well, dry thoroughly and spray with alcohol 70%.
- If using the tubes, you can place then on a bed of uncooked rice or any other granular surface for support as it will make the pouring a lot easier (and that’s why I prefer to use the tins).
- In a double boiler melt the beeswax first and then add all other ingredients. Stir until everything is combined. Keep stirring regularly as we want to make sure everything is mixed properly. No need to overheat, once you see everything has melted you can remove the pan from the stove.
- Let the balm cool down a little bit but it should still be liquid, not too hot to touch though before you add the essential oil. I wait until the mix thickens a bit (not too much, it is an art form to find out the exact point, trial and error have been my best teacher!. If not sure or this is your first time, don’t worry about adding the essential oil).
- Pour very carefully into the tubes or tins. Let the mix set. Once set, place on a tray in the fridge so all ingredients cool down regularly (it avoids the formation of granules inside the balm – nothing wrong with them but they don’t feel nice).
- Leave the balm for about 1 hour in the fridge and then place it in a cool place, away from heat and light.
- Label accordingly with date and ingredients.
TIP: Any leftover mixture can be stored in the fridge and you can re-melt when needed, but, if you added any essential oil, this will most likely evaporate when reheating.
Storage
Because of the oils, at some point, the balm will start going rancid. Grapeseed oil has quite a lot of vitamin E content so it will help stop rancidity. I’d say use within 6 months of making.
)")
If you want to keep the balm longer than a few months, store it in a cool place away from heat and light (a dark, cool place). I place a lot of my oils in the fridge as I know it will keep them for longer.
Notes
- You can replace the tea trea essential oil for organic peppermint essential oil (it will add freshness to your balm).
- In case of any allergic reactions, stop immediately. Do not use if you are allergic to bees or any other ingredients in this recipe.
- This can be made with all other carrier oils, like jojoba oil, almond oil and many more, according to personal needs.
Did You Like the Recipe?
I also welcome feedback and love getting your personal experience with my recipes!
Sign up for the newsletter and whenever a new recipe is posted I’ll let you know.
Thank you for reading!
LOVE,
Patri ❤️💕