
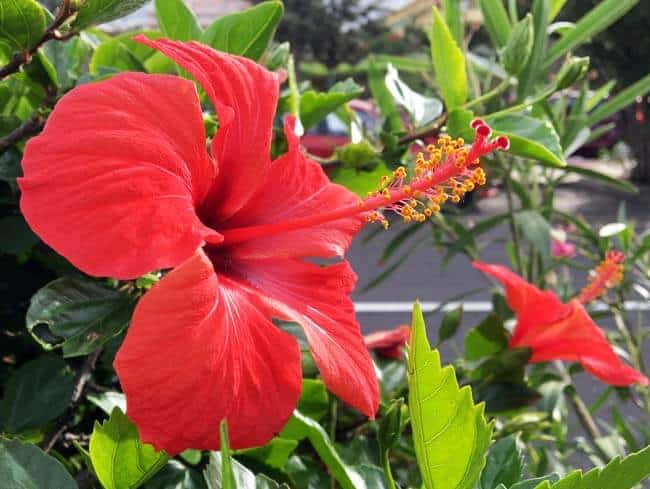
Vegan hibiscus lip tint balm: the easy DIY recipe (no beeswax)
I used to think a tinted lip balm meant picking between “natural” and “actually gives you colour.”
I prefer my lip balms natural without tint, but I’m aware many of you would like to try a tinted lip balm so below you have a fantastic natural recipe with hibiscus. I can’t get better than that.
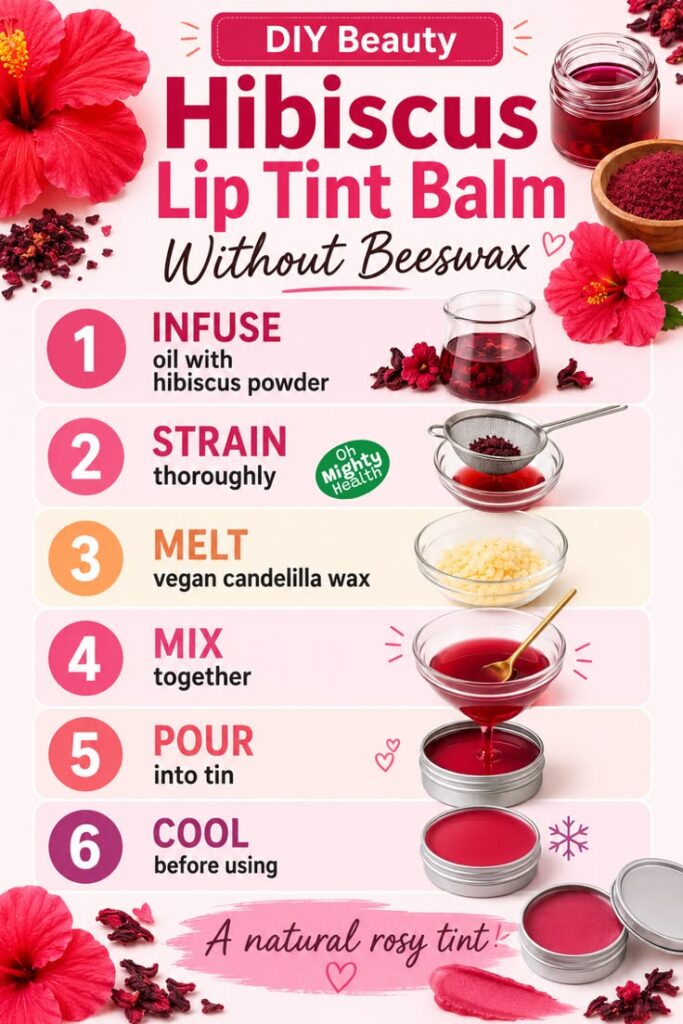
No beeswax, no synthetic dye, etc. Just a soft, rosy wash of colour and a balm that actually looks after your lips while it’s at it.
This post contains affiliate links. If you buy through them, I may earn a small commission at no extra cost to you.
Why hibiscus gives you a tint (and what to actually expect)
Dried hibiscus flowers are rich in anthocyanins, the same pigment compounds that give red cabbage and berries their colour. When you steep them in oil, they release a soft pink-red tint into it.
I’ll be honest with you though: this isn’t a bold, opaque lipstick colour. It’s a wash, a flush, more “your lips but rosier” than “your lips but red.”
If you want something more dramatic, you’d need to add a proper cosmetic-grade colourant, and that’s a different recipe for another day and I probably won’t go there.
Why I skip beeswax completely
This is a fully vegan lip balm recipe, so beeswax is out from the start. But even if that wasn’t a priority for you, candelilla wax is worth knowing about.
It’s a plant-derived wax that’s naturally firmer than beeswax, which means:
- You need less of it to get the same set
- It gives a slightly cleaner, less tacky finish
- It’s completely plant-based, so it fits any vegan lip balm recipe without compromise
One thing to flag: because candelilla is firmer, don’t just swap it 1:1 for beeswax in other recipes. I’ll give you the exact ratio below so you don’t need to guess.
What you’ll need
This recipe makes roughly four 15ml tins, so you’ll have some to keep and some to give away.
Ingredients:
- 4 tbsp (60ml) sweet almond oil or jojoba oil (get it here)
- 1 tbsp dried hibiscus flowers, crushed or lightly crumbled (get it here)
- 1 tbsp (15g) candelilla wax (get it here)
- ½ tsp vitamin E oil (get it here)
Kit:
- A small saucepan or double boiler
- A fine mesh strainer or cheesecloth
- 0.5oz (15ml) metal tins, four of them (get it here)
The method: step by step
Step 1: Infuse the oil
Add your oil and crushed hibiscus flowers to a small saucepan. Warm on the lowest heat setting for 20 to 30 minutes, stirring every so often. You’re not frying anything here, just gently coaxing the colour out, so keep it low and slow. The oil will turn a deep pink-red.
Step 2: Strain thoroughly
Pour the warm oil through a fine mesh strainer (or cheesecloth if you have it) into a heatproof jug or bowl. Press the hibiscus gently with the back of a spoon to get every last drop of colour out. Discard the spent flowers.
Step 3: Melt the wax
Return the strained, tinted oil to a clean pan (or the same one, wiped out). Add the candelilla wax and melt over low heat, stirring gently until it’s fully dissolved. This usually takes 3 to 5 minutes.
Step 4: Mix it all together
Take the pan off the heat and stir in the vitamin E oil. This is added off the heat on purpose, as high temperatures can degrade it, so you want it going in once things have cooled slightly.
Step 5: Pour into tins
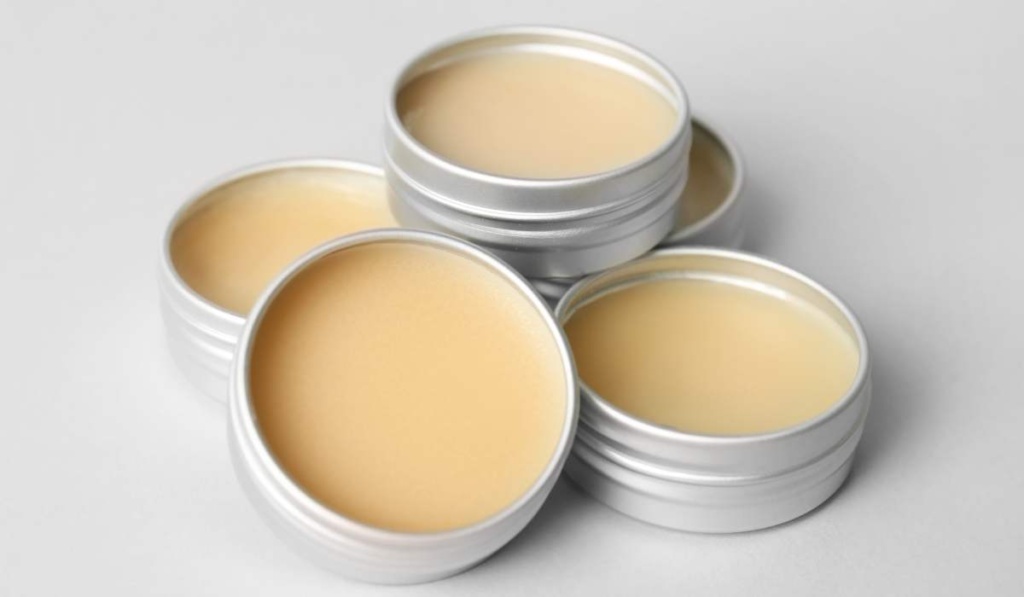
Working quickly before the mixture starts to set, pour it carefully into your tins. A small funnel or a jug with a good pouring lip makes this much less messy.
Step 6: Cool before using
Let the tins sit undisturbed at room temperature for about an hour, or pop them in the fridge for 15 to 20 minutes if you’re impatient like me. Once fully set and cool, they’re ready to use.
A few tips before you go
If your tint feels too subtle: use a slightly larger amount of hibiscus, or let it infuse for closer to 40 minutes. Just keep the heat low the whole time.
If your balm feels too soft: add a touch more candelilla wax, half a teaspoon at a time, remelting as needed.
Storage: kept somewhere cool and dry, away from direct sunlight, this should last around 6 months. If it ever smells off, that’s your cue to make a fresh batch.
Swapping the oil: jojoba behaves almost identically to our skin’s natural oils and has a longer shelf life, while sweet almond oil is softer and more cushiony on the lips. Either works well here. If you want a fuller rundown of how different oils behave in balms, my crash course on carrier oils goes into more depth.
If this is your first time making a lip balm from scratch, my vegan DIY lip balm guide covers the basics in more detail, and my natural lip balm recipes post has a few other formulas if you want to play with different consistencies once you’ve got this one down. I also wrote a bit more about why I rate vitamin E in balms and serums over on my vitamin E oil post, if you’re curious.
That’s genuinely it. Six steps, no beeswax, no faff, and a lip balm with a bit of natural rosy colour to it. Let me know how yours turns out.
This article is for informational purposes and isn’t a substitute for professional medical or dermatological advice. Always patch test new ingredients before applying them to your lips or skin.
Love, Patri xx
