Homemade Body Wash Base FROM SCRATCH (SLS Free)
INTRO
This entry is about making your own natural DIY homemade body wash / shower gel / body soap / liquid shower soap / shower gel base. This is a unperfumed formula/recipe without Castile soap (with glycerin). You can add your own essential oil mix to the base (up to 3% – in general I add 50 drops of my essential oil mix to 500g of product. Drops of essential oil in a ml here).
What this Recipe Makes
A clear, spa like body wash/shower gel base. It foams and cleanses. It is perfect for blending your own mix of essential oils or you can use on its own.
Skin Suitability
Suitable for all skin types. You can tailor to your individual skin type by adding your own mix of essential oils ad well as other active ingredients.
Blending Your Essential Oils
Stir your essential oils into the homemade shower gel gradually once the gel base is done. Add a maximum of 3% essential oil mix.
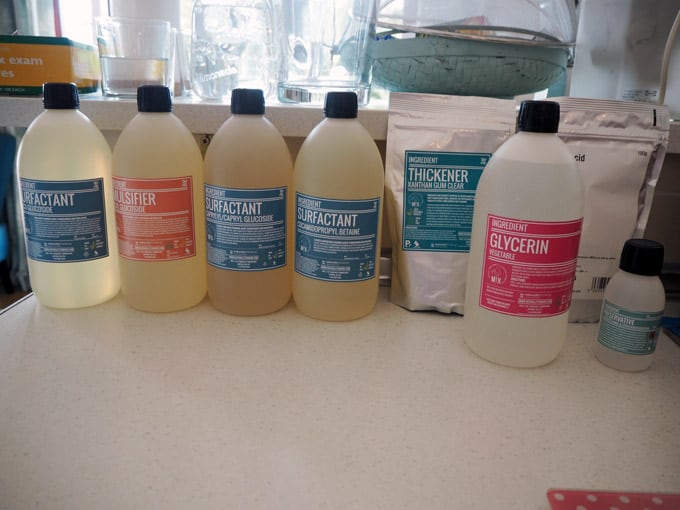
Ingredients
Distilled Water, Cocamidopropyl Betaine, Coco Glucoside, Decyl Glucoside, Caprylyl Capryl Glucoside, Glycerin (Veg), Xanthan Gum, Citric Acid, Phenoxyethanol & Ethylhexylglycerin. Also Tocopherol (Vitamin E, Antioxidant).
EWG at a Glance
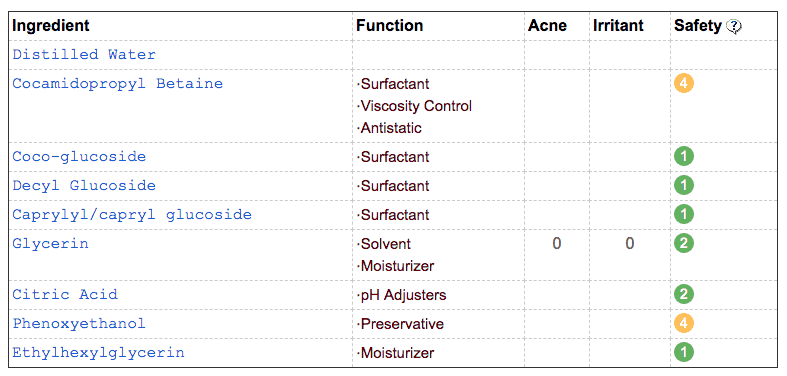
- 5 Ingredients at EWG 1 (Vitamin E not included on the pic above)
- 2 Ingredients at EWG 2
- 2 Ingredients at EWG 4
**EWG safety guide here. You can check ingredients lists here.**
Ingredients and Functions
And here’s a table with clickable links on ingredients and functions.
| Ingredient | Function |
| Aqua (Distilled Water) | Washing and Moisturising |
| Cocamidopropyl Betaine | Surfactant & mild emulsifier – washing & foam [About Surfactants| About Emulsifiers] |
| Coco Glucoside | Surfactant |
| Decyl Glucoside | Emulsifier |
| Caprylyl Capryl Glucoside | Surfactant |
| Glycerin | Humectant [About Humectants] |
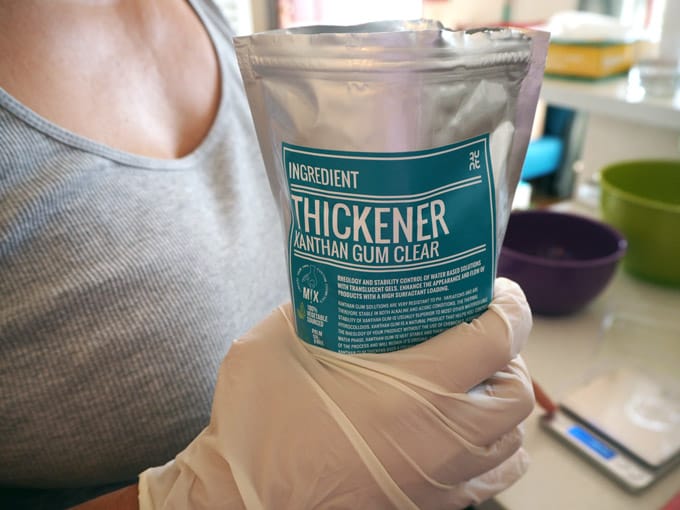
| Xanthan Gum | Thickener [About Thickeners in cosmetics] |
| Citric Acid | PH adjuster (reducer) [About PH levels in cosmetics and here] |
| Phenoxyethanol & Ethylhexylglycerin | Preservative [About Preservatives in cosmetics] |
| Vitamin E (Tocopherol) | Antioxidant |
MAKING YOUR OWN SKINCARE
I believe everyone should know the basics of making their own skincare products so please make your own skincare products from scratch if you can. The same way we learn maths and languages at school, we can also learn other helpful formulas that can aid us in taking care of our bodies the way they deserve to be taken care of. At least know what’s in your skincare products and make informed decisions from now on if you don’t already do so.
Learning how to make your own products is easy and inexpensive. All you need is a little time. Probably the same amount of time it takes you to go to the store and purchase your potions and lotions. It is important to teach children to be conscious about what they put into their bodies, both inside and outside.
Hopefully this blog entry will accomplish its goal: to get your creativity and sense of responsibility going by enticing you to making your own body wash/shower gel/shampoo base. You can add your chosen essential oils to the finished product according to different needs.
In Love with this Natural Shower Gel
Here you will learn how to make a natural body wash base from scratch. This homemade shower gel is incredibly addictive! I’ve been using it for some time now and I must say that it is the best liquid shower soap I’ve EVER had. In fact, every time I swap for another shower gel I miss this one big time. At first I wasn’t sure of it because of its gooeyness and also the fact that it wasn’t foaming the way I was used with non-natural shower gels (probably because of the sulfates in them). But just after a few washes I literally couldn’t get enough of it. It was like falling in love.
A Homemade Body Wash Without Castile Soap
This Homemade DIY Free SLS Shower/Bath Gel or Shampoo** is one of my formulas from my Naturally Thinking cosmetic course and is made without using Castile soap (or jabón de Castilla). Naturally Thinking are growers of essential oils in the UK and experts in aromatherapy skincare since 2000. At NT I learned to make bases for most cosmetics bases like lotions, creams, exfoliators, conditioner, gels, body butters and balms.
**Although the active matter in a shampoo should be higher than in a body wash or shower gel, I’ve used this formula as both although I personally prefer it as a body wash.
I will insist that once I got used to this shower gel it is really the only body wash I get excited about using. I look forward to my showers big time and get transfixed by the natural texture of the product and essential oils magical scent (which you add to your shower gel base).
If you look at the ingredients below you’ll see that it’s not a homemade body wash in the sense that you would use some liquid soap and add the extras to it to make it more ‘your own’. This is truly from scratch, without using any sodium laureth sulphate, made with distilled water, various glucosides, glycerin, xantham gum to thicken it, citric acid to adjust the PH and preservatives (if you’re worried about using preservatives please click on the link I provided to read what Susan Barclay Nichols from swiftcrafteymonkey.com has to say about them).
About this Blog Entry
As mentioned, this blog entry shows how to make natural body wash from scratch (i.e. without using castile soap or any other soap base). The idea is to learn how to make a homemade body wash that can serve as a DIY body wash base so you can add your choice of essential oils to the final product.
In a nutshell, this blog post serves two purposes:
1. A detailed guide for me to go back to so I can easily follow the formula without having to ‘translate’ the notes I got from my course (which are really well made but I now prefer to read in detail my personal notes).
2. A detailed guide for DIY skincare beginners who want to make DIY free SLS shower gel/bath gel/shampoo from scratch with a formula that is gentle on the skin and easy to follow once you have all the ingredients at hand (list below).
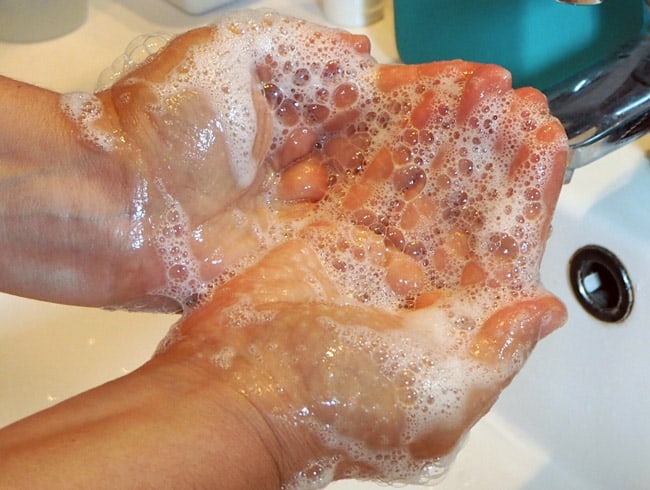
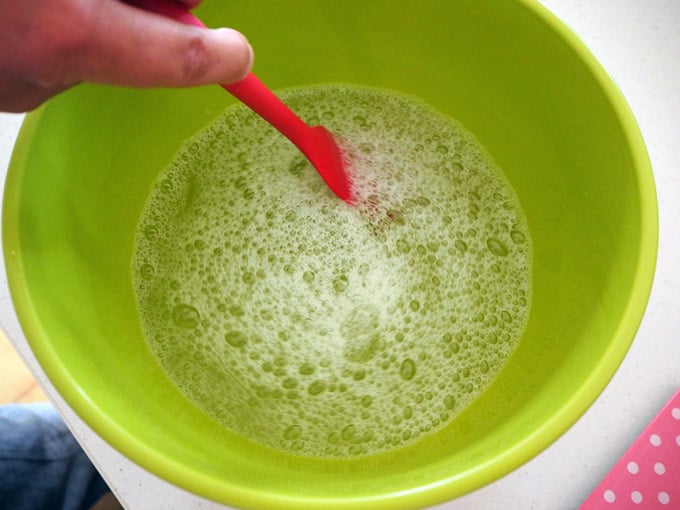
Final Results
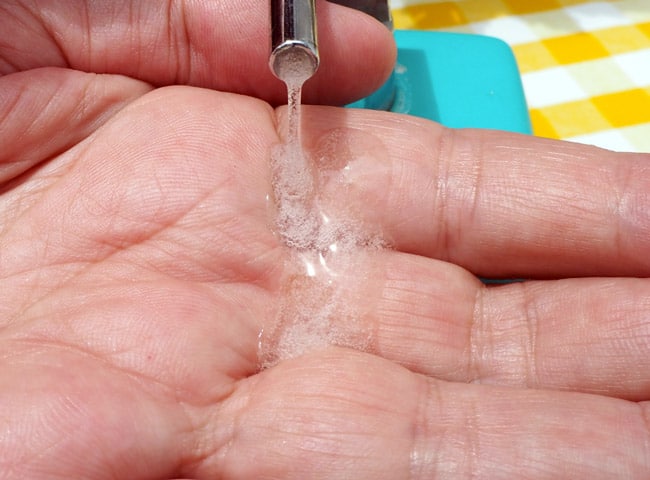
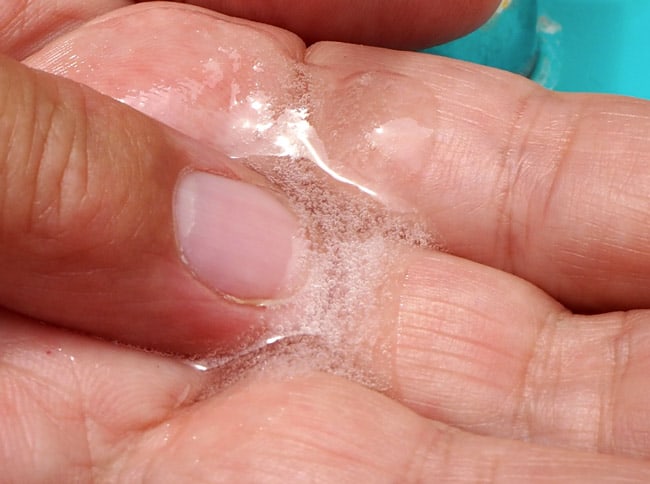
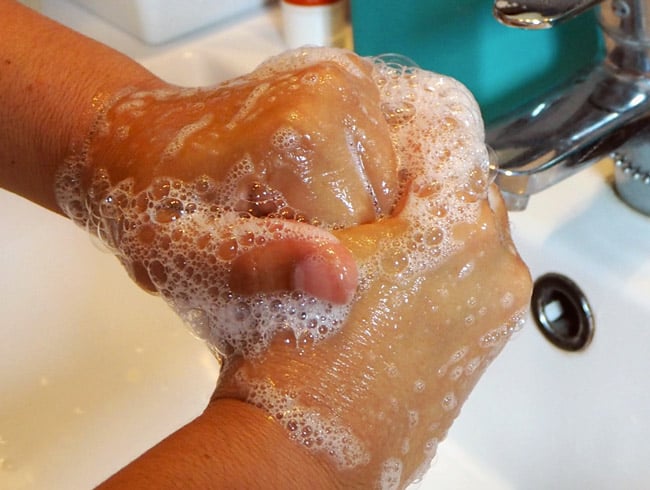
Before jumping into the formula and steps for making the DIY body wash, I’ll show you below a few photos on the final results so you can get an idea of what this sulfate free body wash will look and feel like. As will can see, foaming is beautiful (being SLS free the foam is discreet and very gentle) and it does have a fluffy lather, which is ideal. In fact the homemade liquid soap feels incredibly soft and of course it will smell divine once you add your essential oils to it.
Final Texture
The final texture is of a gooey nature – not lotion-like or creamy, but rather viscose, a bit like gel (and also a little translucent like gel).
Without further ado, let’s get started.
FORMULA FOR BODY WASH / SHOWER GEL BASE
Homemade Body Wash Base Recipe
Find below the ingredients and steps to creating this body wash base. The amounts will make 800gr (28.21oz) free SLS body wash/shower gel/shampoo (you can use it indiscriminately for body and hair if you like).
Next to the ingredients you’ll find 3 links: EGW’s Skindeep Cosmetics Database (a cosmetic database website that rates products and ingredients from 1 to 10 according to safety), an informational link (explaining more about the ingredient) and the affiliate link (Lynn and I will get a commission if you purchase the product via the link).
Equipment Needed
**Try to have separate equipment for your cosmetic production*
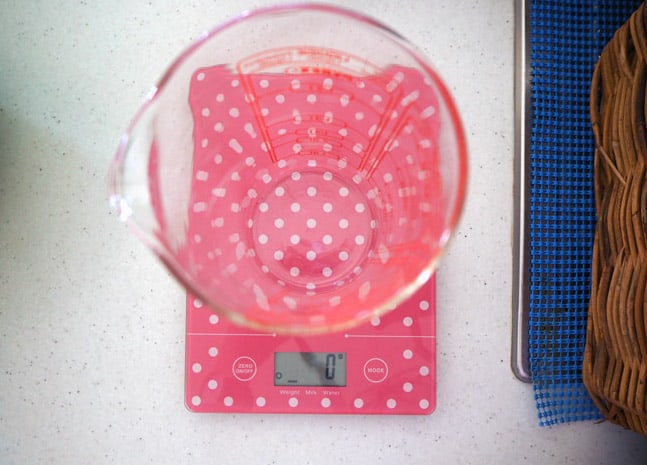
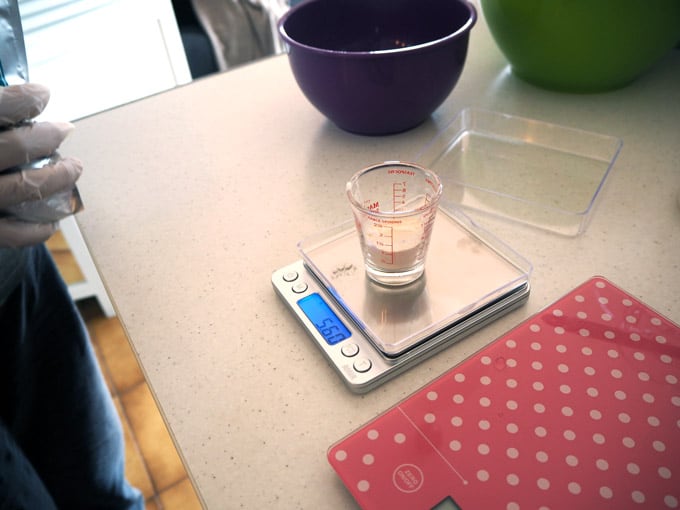
– Weighing Scales (for the smaller weights use a jewellery scale)
– Bowls (2 or 3). You can use Pyrex measuring jugs but you’ll need a big bowl.
– Plastic gloves (I wear just one for the hand that deals with the products)
– Optional: mixer (blender). I did my second batch just stirring with the spatula and the results were fantastic
– Spatula (for stirring, mixing)
– Funnel (for bottling)
– PH test strips
– Containers to pour in the final product (bottling)
– Optional: essential oils (one or a blend) – Add no more than 3% of the total to your final product
Recipe
This recipe makes 800 grams of body wash/shower gel.
Phase A
456g | 57% Distilled Water [EWG 1 | product info | aff link]
112g | 14% Cocamidopropyl Betaine [EWG 4 | product info | aff link]
32g | 4% Coco Glucoside [EWG 1| more info| aff link]
24g | 3% Decyl Glucoside [EWG 1| more info| aff link]
144g | 18% Caprylyl Capryl Glucoside [EWG 1| more info| purchase link]
Phase B
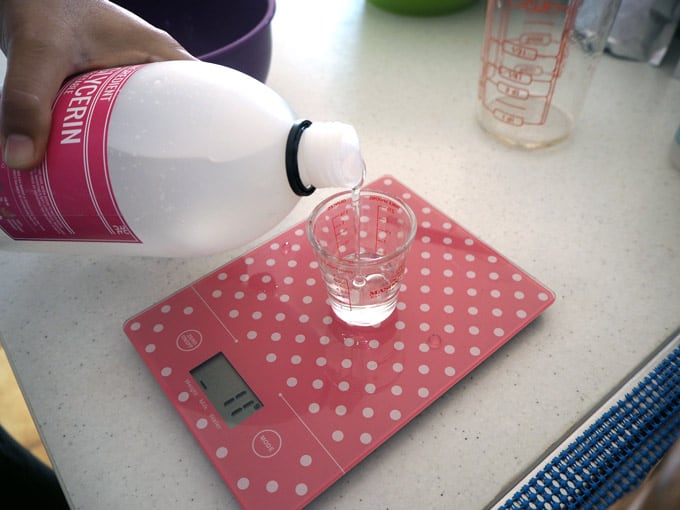
20g | 2.5% Glycerin (Veg) [EWG 2| more info| aff link]
5.6g | 0.7% Xanthan Gum [EWG 1| more info| aff link]
Phase C
(PH Adjuster) | Citric Acid [EWG 2| more info| aff link]
8g | [0.5% x 2] Phenoxyethanol & Ethylhexylglycerin [EWG 4 & 1| more info| aff link 125g OR aff link 500g]
1.6g | 0.2% Tocopherol (Antioxidant, Vitamin E)
Instructions
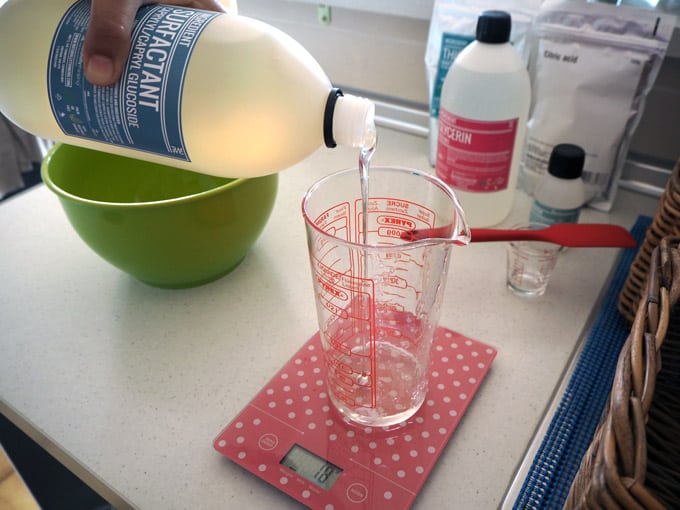
1. Measure the distilled water into a bowl or jug and place to one side for later. (Make sure to separate 25g from the water in container – I use a small shot measuring glass).
2. Add around 1 tsp of citric acid to the 25g of distilled water you just separated and stir until it dissolves. Place to one side (we will use this to adjust the PH later).
3. Now make a paste by slowly mixing Phase B ingredients (Xantham gum + Glycerin) in a small bowl. Make sure no lumps are left.
4. Now mix the rest of Phase A ingredients together in a large bowl (Cocamidopropyl Betaine, Coco Glucoside, Decyl Glucoside, Caprylyl Capryl Glucoside)
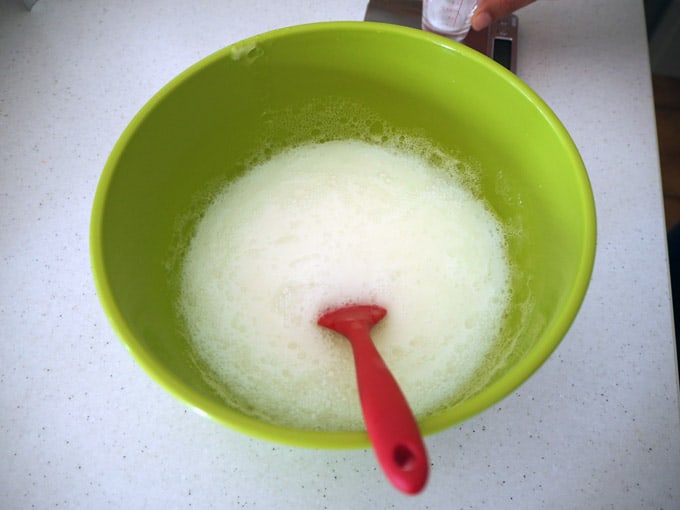
5. Add Phase B ingredients to Phase A and slowly stir (I have used the blender before but I prefer to slowly stir with the spatula until the mix thickens). It takes a little time for the mix to get to the right texture, just keep stirring (around 5 to 10 minutes) until everything is smooth and the texture feels right. Try not to create too many bubbles.
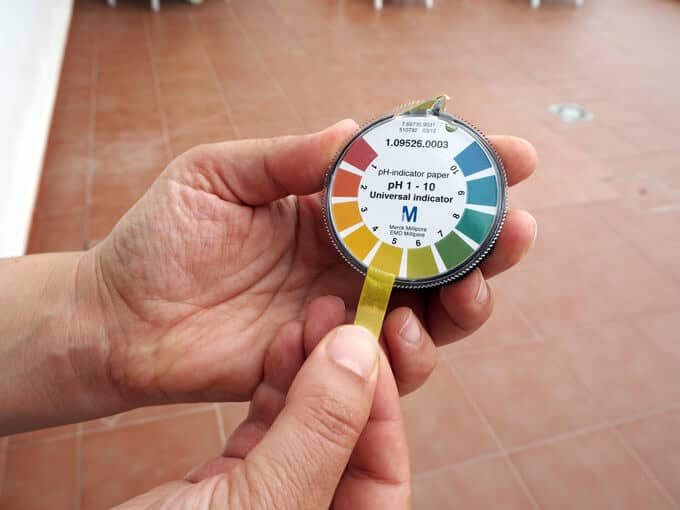
6. Test PH with a strip (for the tester I use a good German brand, see pic below). We probably need to adjust the PH to the required level (5).
7. Take the mix of Citric Acid and distilled water we separated on the side and start adding / testing until the required PH level has been achieved (5).
8. Time to add the preservative.
9. Time to add some Vitamin E (Tocopherol, Antioxidant).
10. Let it rest and bottle.
Things to Take into Consideration
I’ll try to mention here all the problems I encountered that you might encounter as well. I’ll be making this formula/recipe many times so I’ll add more obstacles or questions I come across myself.
- Do the measures have to be completely exact? This might seem like a silly question but I don’t really worry about tiny little ‘ups’ or ‘downs’ when it comes to exact measurement (I saw at my NT course that it wasn’t a huge deal). I have 2 scales, one measures the 0.00 while the other doesn’t. I use them accordingly. But if I go over or under (for example, if instead of 24g of Decyl Glucoside I ended up adding 26g and I’m finding it difficult to achieve accuracy I just add the 26g).
- Do I need expensive/great quality scales? No. You just need something that measures the weight, that’s all. For my accurate 0.00 digital scale I bought one on Amazon (here’s the aff link to it). The other one I just bought it in a grocery store (weighs in grams, pounds, etc) and it is more than good enough for the measures that don’t need to be .point something.
- I’ve provided the recipe in grams but you can calculate in any other size by using a calculator from makingskincare.com.
- Does water need to be distilled? Yes, ideally. I asked my tutor this same question at the course and he said that if you were desperate and the product was just for you then you could use water you boiled from bottled water but he did insist I should get distilled water. Thankfully I found it in a grocery store – the big (and cheap!) bottles where being displayed at the ironing section, so you might find it there too!
- What about the temperature of the distilled water? You didn’t mention it… No, I didn’t. At the course we were using distilled water at 80°C [degrees celsius] (so not quite boiling water, for the water to boil it needs to be at 100°C). But I heated up the water to ‘warming point’ and that was good enough for the mix. As I wasn’t sure myself I checked what DIY cosmetics guru Susan Barclay Nichols had on one of her body wash formulas and she actually says to “heat up the water slightly to make it easier to mix” [source] so all good 🙂
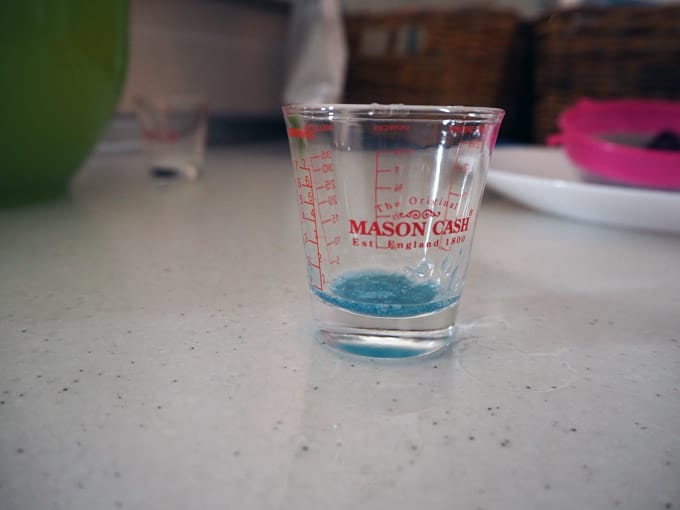
- Do the bowls and measuring jugs, glass, cups, etc, have to be of any particular type/brand? No. I work with plastic and glass. I particularly LOVE Pyrex (actually I’m obsessed with Pyrex) and I collect jugs, measuring cups, etc and use them for general measuring and obviously making my cosmetics (separate ones). Ideally I’ll have a huge collection of Pyrex crockery at some point! [Here’s an affiliate link to a 1 cup Pyrex measuring jug]. I’ve also fallen in love with Mason Cash‘s absolutely gorgeous mini measuring glass (see pics below) which I use for the smaller amounts. I have 2. I couldn’t find them in Amazon but here and here are similar ones that I would personally buy myself [aff links]. For a more ‘laboratory’ feel, here you’ll find something that I think could work nicely, although personally I do prefer the shot glass look.
- Do I need a special or particular blender? No. Just one that works. This product is for home use so I’m not going to be too fussy about tools. Here’s a blender you could use if you don’t have one [aff link]. Personally I prefer to stir by hand using my spatula but it does take me a while to get it to the right thickness.
- What about stirring – do I need a particular rubber spatula? No. Any cooking rubber spatula will do. I would love to get my hands on the Norpro spatulas Marie Rayma from humblebeeandme.com uses and recommends but I can’t as I’m in Europe and they would get ridiculously expensive. I’ll link to her page here so can have a look, and, if you decide to buy it using her link, she can get the well deserved commission.
- If I don’t have one of the ingredients, can I substitute for another? I’m not at the level yet where I can answer that question. I suggest you try to get all ingredients as listed above.
- Do I have to add a preservative? Yes you do! I so much wanted to make DIY skincare without any preservatives (au naturel was my motto) until realising that this is NOT a choice unless I want to be stepping into dangerous territory. Our kitchens are not laboratories and therefore not sterile, which means that nasty microbes will love to dwell in the products we make (especially when adding water).Preservatives are our friends, not our enemies. Here’s a fabulous article Susan wrote about this very topic which I think will convince you. And here’s Marie on the same topic.
- Does the PH have to be exact at 5? No. If you get it at 4.5 or 5.5 that’s ok.
- Can I add any essential oils to the final product? Yes, it is up to you. You can either add one essential oil or a mix. Just make sure you don’t go above 3% of the total (so no more than 3% of the total weight of your product, so if you ended with 800g of shower gel, your essential oil mix shouldn’t weigh more than 24grams!)
- Can I add carrier oils too? I’m not sure, I might have added to the product I created at my course but considering this is a shower gel I personally only added a mix of essential oils.
FINAL THOUGHTS & PHOTOS
I love this body wash. I really do. When I don’t use it for a while I miss it like hell. When I have it I can’t wait to take a shower. There’s a ‘bond’ between myself and the shower gel, and I don’t mean this because I made it.
It is in the texture, feel and smell from the essential oils. My body LOVES LOVES LOVES this gel. It feels weird at first because it is gooey and it doesn’t lather like your regular rich, creamy body wash… At first I thought I’d use it but I wouldn’t be making it again, I would just stick to all natural, even an organic body wash from brands like Neal’s Yard, which I actually use at times (and a brand I adore).
But how wrong I was… After about a week or so I was hooked. Or, rather, my body was hooked… It’s very difficult to explain, but it hasn’t happened to me with your regular body washes (the non-natural ones). And I hadn’t been using natural stuff for long so I’m not sure if the reason lies in the fact that it’s natural or that this formula has magic to it… I suppose I’ll find out over time, but I wouldn’t be surprised if this ended up being the best natural body wash for me. I still have to try an all natural body wash by Korres I have ‘waiting’ in my cupboard and there’s no doubt that the Bee Lovely by Neal’s Yard is… lovely, but I wouldn’t change it for my own formula (so far at least).
Right, so I guess you know now how to make shower gel. There’s no doubt that the pleasure from making your own DIY shower gel trumps any body wash that you loved before, and I assure you that once you add the essential oils to your body wash you’ll be in heaven.
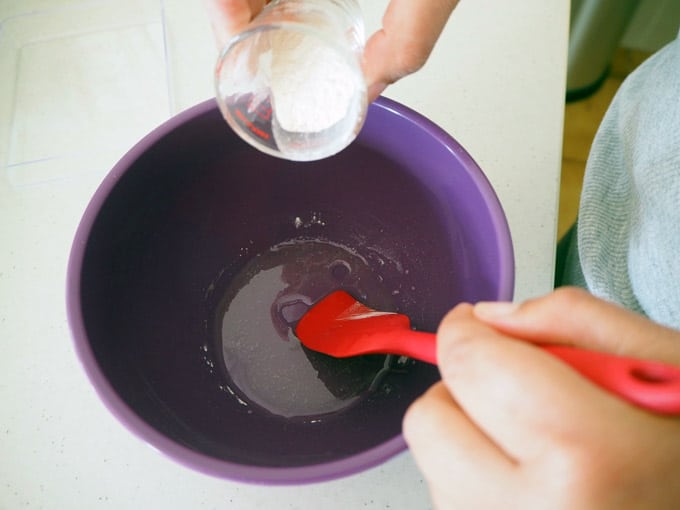
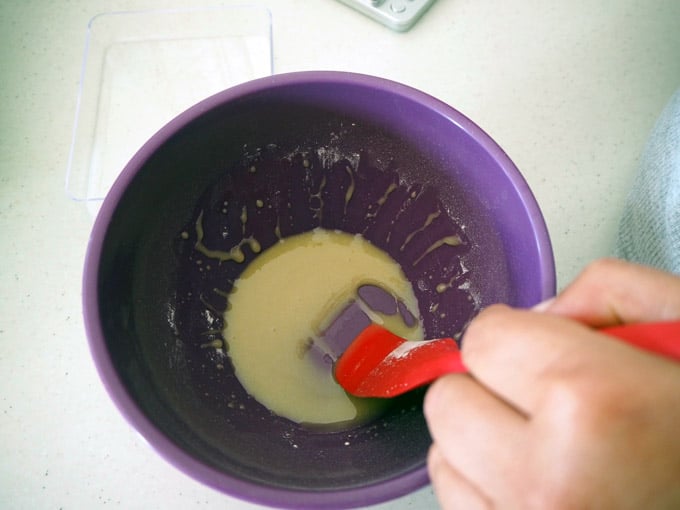
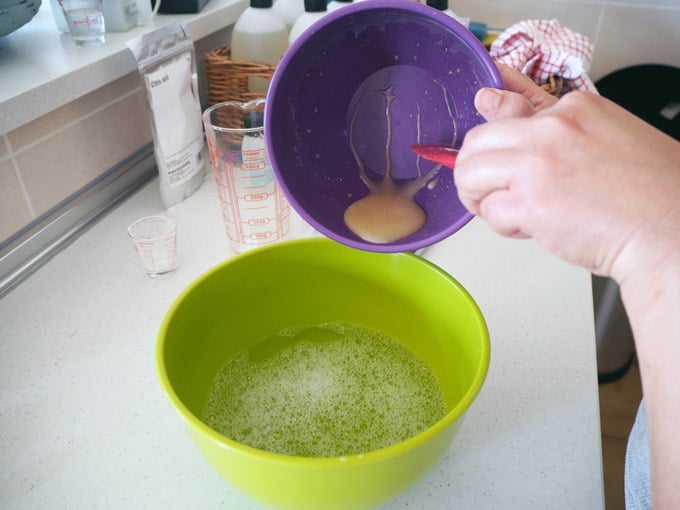
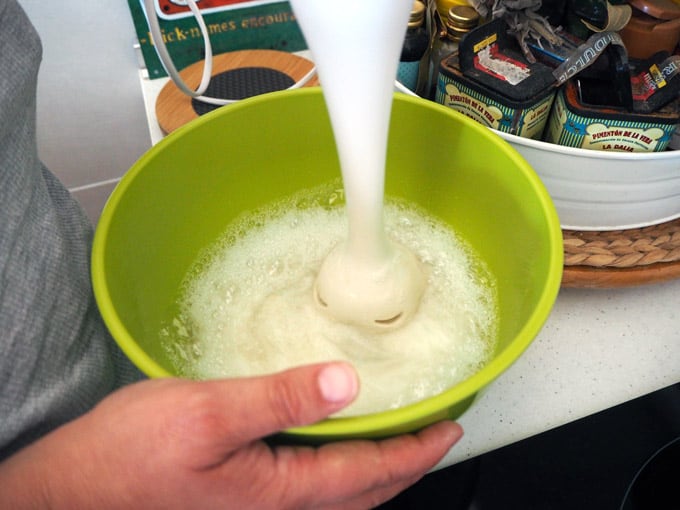
I’ll leave you here with a few pics from the process of making our SLS free body wash. Please note that they’re not for you to follow as steps! (for the body wash recipe please follow the instructions above). These are just pics for you to enjoy 🙂
Now that you can make your own body wash there’s just one thing left to say: enjoy the process and have fun creating your blend of essential oils. You deserve it!
Good luck with making your body wash and let me know in the comments below how you got on!
**A Note on PH Testing**
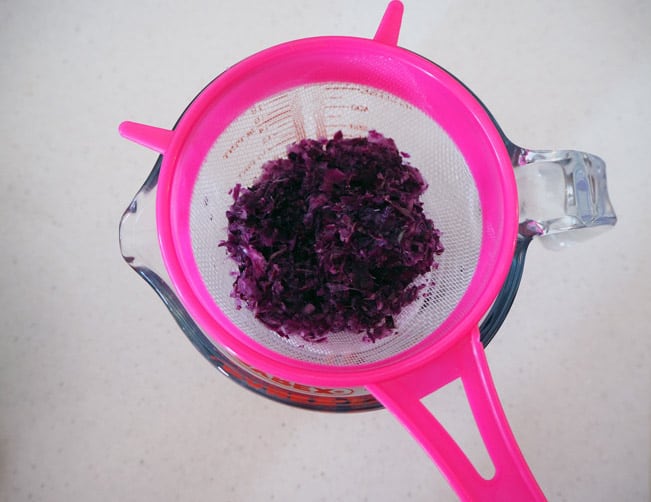
I didn’t have PH testing strips and I REALLY wanted to test the PH of my shower gel! Especially since I was going to give some to family members. So, I found this post and this post on how to test the PH with red cabbage…
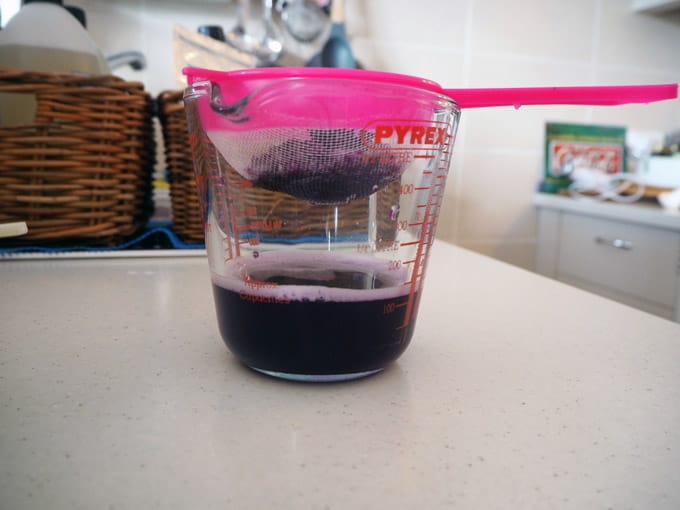
Guess what… I did have red cabbage in the fridge from our veg Monday shopping, can you believe it!? [I haven’t bought red cabbage in years!]. Since I was desperado I followed instructions accordingly to realise the PH seemed quite good (the mix turned blue, which is what the colour they say it should turn to). I believe the 2 posts deal with solid soap, so not sure how it ‘translates’ into liquid soap, but I did the test anyway.
My concern was about how long do we ‘have’ to adjust PH. I spoke to someone at the pharmacy but they didn’t know. I fixed the PH to the correct number 5 the day after, when I could purchase the PH tester strips (at an insane amount of money I must say, but, hey, they’re a German brand and the girl at the pharmacist said there are ‘testers’ and ‘testers’, so I’m assuming some are more accurate than others…). Also I like the fact that the colour guide doesn’t get messed up because it is protected by plastic. I found a similar one on Amazon in case you wanted to have a look [aff link]. Also check the 3rd picture below… We adjusted with the citric acid to PH perfection!
Thanks so much for this simple and well explained post. I love Susan B-N too but I dont want to use croxith and am struggling to get the glycerin to gel nicely and you’ve used the method I recently discovered, they key is the glycerin! I also love how naturally thinkings products are labelled, I end up writing the ph, charge and other essential info on the bottles because it’s hard to recall everything! I also use micas to colour as they make the gel look better in the hand. I am an expat (from Norwich) living in Canada.
Hi Hayley, you’re very welcome! Glad the post could be of help. Thanks for your comment, I’ve been in Norwich once back in the nineties! I miss the UK at times although living in Spain is simply wonderful : ) xx
Most people I talk to are oblivious to the fact that fast hair growth shampoos (obviously with no sulfates, no parabens, no DEA) are a thing. We all can now attain longer hair and have more options. Undoubtedly worth considering.
Whether you’re assessing alopecia, damaged hair, preventing scalp disorders, fast hair growth, hair and scalp care normally, similar principles come to mind.
In general, you want to stay away from hair products and treatments that use chemicals such as parabens, DEA or sulfates.
What is beneficial for your hair is healthy for your skin all the same.
It goes without saying the content above is so useful for many reasons. It stays away from the common mistakes and errors too many fall into: buying horrible alternatives. Thank you so much!